How to Remove Chicco Car Seat Cover Easily in 5 Simple Steps
Removing a car seat cover might seem like a small task, but for many parents, it can quickly become a confusing and frustrating project—especially with popular models like the Chicco car seat. If you have never removed the cover before, you might worry about breaking clips, damaging the fabric, or not being able to put everything back together. However, with the right guidance and a bit of patience, you can remove your Chicco car seat cover safely and efficiently.
Why does this matter? Keeping your child’s car seat clean is essential for their health and comfort. Spills, crumbs, and dirt are common, and a dirty cover can even affect how safe the seat is. Over time, built-up grime can weaken the fabric or make harness straps less effective.
Regular cleaning keeps everything in top condition and prolongs the life of your seat.
Let’s walk through the full process of removing the Chicco car seat cover, step by step. We’ll cover what tools you need, how to avoid common mistakes, and tips for reassembly. By the end, you’ll feel confident taking off and putting back your Chicco cover whenever needed.
Understanding Your Chicco Car Seat Model
Before starting, it’s important to know which Chicco car seat model you own. Chicco offers several lines, such as KeyFit, NextFit, and Fit2. Each model has unique design details, but the removal process shares many similarities. Check your car seat’s user manual for diagrams or details about your specific version. If you have lost your manual, you can usually find it on the official Chicco website.
Most Common Chicco Models
- KeyFit 30
- NextFit Zip
- Fit2
- MyFit
- KidFit
While this guide focuses on general steps, we’ll point out where things might differ based on your model. For models with zippers (like the NextFit Zip), removal is easier. For others, you may have to unhook elastic bands or unsnap buttons.
Tools And Preparation
You don’t need many tools to remove a Chicco car seat cover, but a few items can make the job easier:
- Flathead screwdriver or butter knife (for prying off tough clips)
- Clean towel (to protect your car interior)
- Ziplock bag or small box (to hold small parts)
- Camera or smartphone (for taking photos during each step)
Take a photo of the car seat before starting. This reference will help you remember how everything fits together for reassembly.
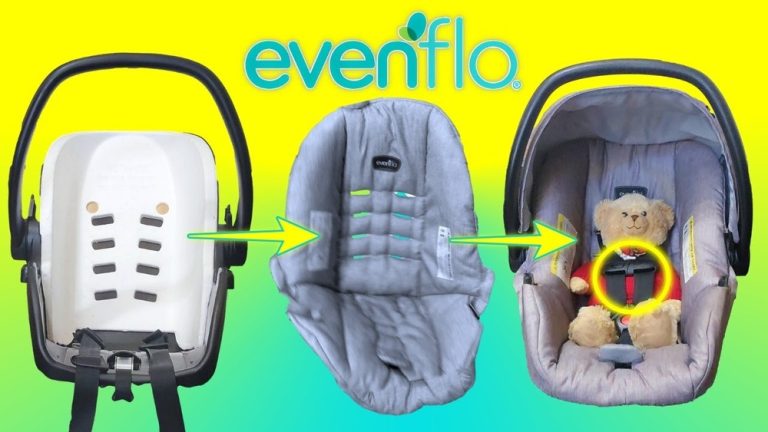
Credit: www.youtube.com
Step-by-step Guide To Remove Chicco Car Seat Cover
Let’s break down the process into clear steps. Most Chicco car seats follow a similar sequence:
1. Remove The Car Seat From The Vehicle
Take the car seat out of your car. This gives you more room and makes it easier to see all sides. Place it on a clean, flat surface.
2. Detach Harness Straps
- Unbuckle the harness and chest clip.
- Pull the harness straps to their loosest position.
- If your model allows, remove the harness pads and crotch buckle pad.
- For some models, you may need to unthread the harness straps from the back. Check if your harness is fixed or removable.
3. Remove Infant Insert And Headrest
If your seat has an infant insert or extra padding, gently pull these out and set aside. Some inserts are held by Velcro or simple tucks—take note of their position for later.
4. Unhook The Elastic Bands Or Clips
Turn the seat upside down or sideways. Look for elastic bands, plastic hooks, or snap buttons around the base and back. These hold the cover tightly in place.
- Use your fingers or a flat tool to gently release each band or hook.
- Move slowly to avoid tearing the fabric or scratching the plastic shell.
5. Slide The Cover Off The Seat Shell
Once all fasteners are undone, start peeling the cover from the top down. Work around the seat, lifting the fabric gently. If you meet resistance, double-check for hidden bands, clips, or zippers.
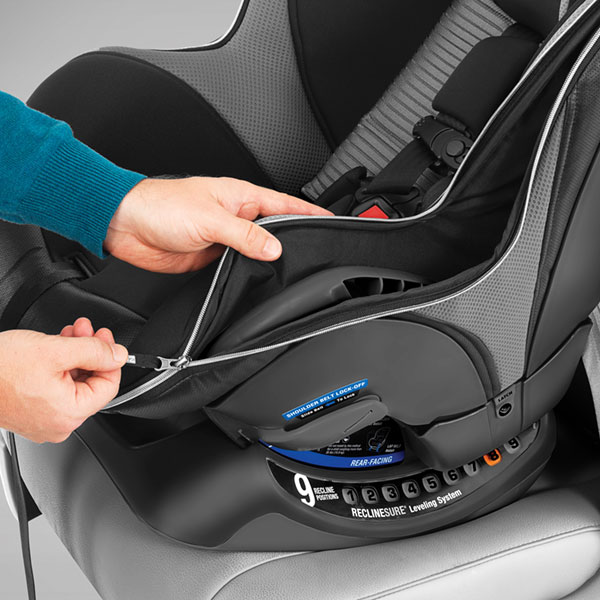
- Some Chicco models have zippers along the sides or back. Unzip fully before pulling.
- For cup holder areas, you may need to detach the holders or wiggle the cover around them.
6. Remove The Cover From The Harness Slots
The cover usually fits around the harness slots. Carefully feed the harness straps through the fabric openings. For models where the harness is not removable, you may have to stretch the slots slightly (but gently) to slide the cover off.
7. Check For Remaining Pieces
Before washing, inspect the seat shell and cover for any leftover padding, Velcro, or elastic. Keep small pieces together in your ziplock bag.
Here’s a quick comparison of the main Chicco models and their cover removal difficulty:
| Model | Cover Attachment | Removal Difficulty |
|---|---|---|
| KeyFit 30 | Elastic Bands & Clips | Medium |
| NextFit Zip | Zippers | Easy |
| Fit2 | Elastic & Snaps | Medium |
| MyFit | Elastic, Clips & Buttons | Hard |
Washing And Caring For Your Chicco Car Seat Cover
Once removed, follow these tips for washing and drying:
- Read the care label on the cover. Most Chicco covers are machine washable in cold water on a gentle cycle.
- Do not use bleach or harsh detergents.
- Air dry the cover. Avoid dryers, as heat can shrink or damage the fabric.
- Wipe the seat shell with a damp cloth. Do not use harsh chemicals.
Common Mistakes To Avoid
- Skipping the manual: Always double-check your model’s user guide.
- Forcing the cover: If something feels stuck, look for hidden fasteners.
- Losing small pieces: Use your bag or box to store any clips or pads.
- Mixing up harness positions: Take photos to remember how straps are threaded.

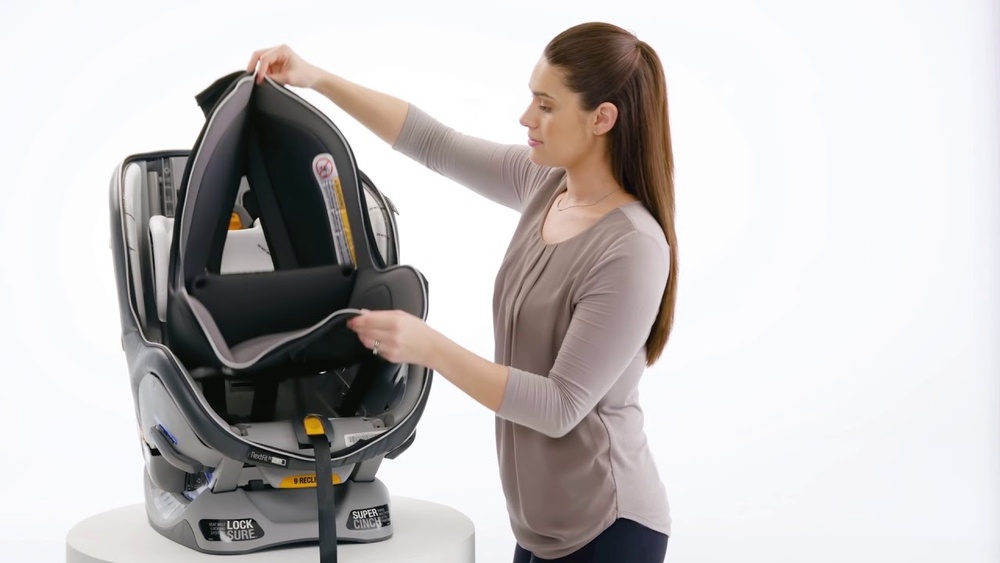
Credit: allurelakestorey.com
Reattaching The Chicco Car Seat Cover
After cleaning, putting the cover back on is just as important as removing it. Here’s how to make sure everything is secure and safe:
- Start by threading the harness straps back through the correct slots. Use your photos for guidance.
- Attach all elastic bands, snaps, or hooks, making sure the cover fits snugly.
- Replace all inserts and pads in the correct order.
- Double-check that the harness moves smoothly and all buckles work properly.
Here’s a quick overview of common fastener types and how to secure them:
| Fastener Type | How to Reattach | Common Location |
|---|---|---|
| Elastic Band | Stretch and loop around anchors | Seat base, back |
| Plastic Hook | Snap into designated slots | Sides, bottom |
| Snap Button | Press until you hear a click | Headrest, sides |
| Zipper | Zip fully closed before use | Back, side |
Special Tips For Success
Removing a Chicco car seat cover is not just about getting it off—it’s about making sure you can easily put it back on and keep your child safe.
Take Photos At Each Step
Most parents forget how complex the assembly is until they have to rethread harnesses or refit padding. Take a few photos as you go—especially of harness threading and insert positions. This makes reassembly much faster.
Watch For Hidden Fasteners
Some models have fasteners tucked under padding or in hard-to-see places. If the cover seems stuck, gently lift the fabric to check for these.
Check For Wear And Tear
While the cover is off, inspect it for any rips, frayed stitching, or worn elastic. Early repair can prevent bigger problems and extend the life of your seat.
Don’t Use Dryer Or Iron
Heat is the enemy of most car seat covers. Letting the cover air dry prevents shrinking and keeps the fit precise. If you’re in a hurry, lay the cover in a sunny spot or near a fan.
Re-check Harness Safety
After everything is back in place, double-check that the harness and buckles work smoothly. A twisted or misthreaded strap can reduce safety.
When To Replace The Chicco Car Seat Cover
Sometimes, cleaning isn’t enough. If the cover is badly stained, ripped, or the elastic is stretched out, it’s time for a replacement. Only buy genuine Chicco covers—they are tested for fit and safety. You can find replacements through the Chicco official website or trusted retailers.
Here’s a quick glance at when cleaning is enough and when replacement is needed:
| Condition | Action | Notes |
|---|---|---|
| Minor stains | Wash | Gentle detergent only |
| Ripped fabric | Replace | Safety risk |
| Worn elastic | Replace | Cover may slip |
| Faded color | Wash or Replace | Cosmetic issue |
Non-obvious Insights
Many parents overlook two key points:
- Harness integrity matters: The way you rethread the harness after cleaning is just as important as the cleanliness of the cover. A harness threaded through the wrong slot or twisted can seriously affect crash performance.
- Check for recalls: While the cover is off, take the chance to check your seat’s model number against current recall lists. This is a perfect moment to confirm your seat’s continued safety.
For more child passenger safety facts and regulations, you can visit the National Highway Traffic Safety Administration.
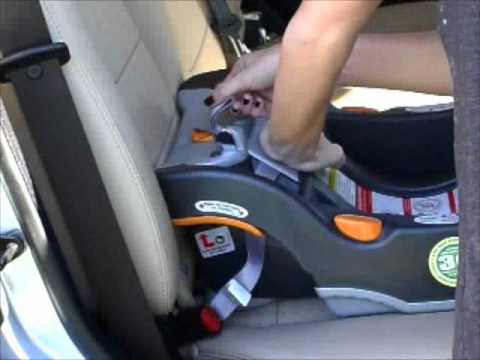
Credit: www.chiccousa.com
Frequently Asked Questions
How Often Should I Remove And Wash My Chicco Car Seat Cover?
For most families, washing every few months is enough. If your child spills food or has an accident, remove and wash immediately. Regular cleaning prevents stains and keeps the seat hygienic.
Can I Put The Chicco Car Seat Cover In The Dryer?
It’s best to air dry the cover. The heat from dryers can shrink the fabric or damage the elastic, making it hard to refit. Lay the cover flat or hang it to dry.
What Should I Do If I Can’t Get The Cover Back On Properly?
Check your photos or the Chicco manual. Make sure all fasteners are in place and straps are threaded correctly. If you’re stuck, look for video guides from Chicco or ask for help from a local baby gear store.
Are All Chicco Car Seat Covers Removable?
Most Chicco models have removable covers, but the process can vary. Some older or budget models may have more complex fasteners or less flexible covers. Always check your user manual for guidance.
Where Can I Get A Replacement Chicco Car Seat Cover?
Buy only from official sources, such as the Chicco website or authorized retailers. This ensures the cover meets safety standards and fits your model perfectly.
Keeping your Chicco car seat cover clean is an important part of car seat care. With the right steps and a little patience, you can maintain both safety and comfort for your child. Remember, careful removal and reinstallation are just as crucial as the washing itself—so take your time, use your phone for reference, and enjoy the peace of mind that comes with a fresh, clean car seat.