How to Put a Graco Car Seat Cover Back on: Easy Step-by-Step Guide
Getting a Graco car seat cover back on after washing can feel like solving a puzzle. Many parents take off the cover for cleaning, only to struggle with reassembly. If you’ve ever ended up with extra loops, tight corners, or straps in the wrong place, you’re not alone.
The good news: with a bit of patience and the right method, you can get your Graco car seat looking factory-fresh and safe for your child. This guide walks you through every step, shares expert tips, and highlights mistakes to avoid—so you can finish the job with confidence.
Why Proper Reassembly Matters
A car seat cover is not just for looks. The cover protects the seat, gives comfort, and holds padding in the right place. If you fit it incorrectly, you might block safety harnesses or cover important labels. This can affect how well the seat protects your child in a crash. Also, a badly placed cover may slip, making your child uncomfortable or even unsafe during the ride.
Getting Ready: What You Need
Before you start, gather everything you’ll need. Having your tools ready saves time and helps avoid frustration.
- Clean Graco car seat cover (make sure it’s completely dry)
- The car seat itself (no base needed for this process)
- All harness straps and padding pieces
- A flat, clean workspace
- The car seat’s instruction manual (paper or online PDF)
- Your phone for taking quick reference pictures
If you don’t have the manual, most models are available on the Graco website or by searching your car seat model online.
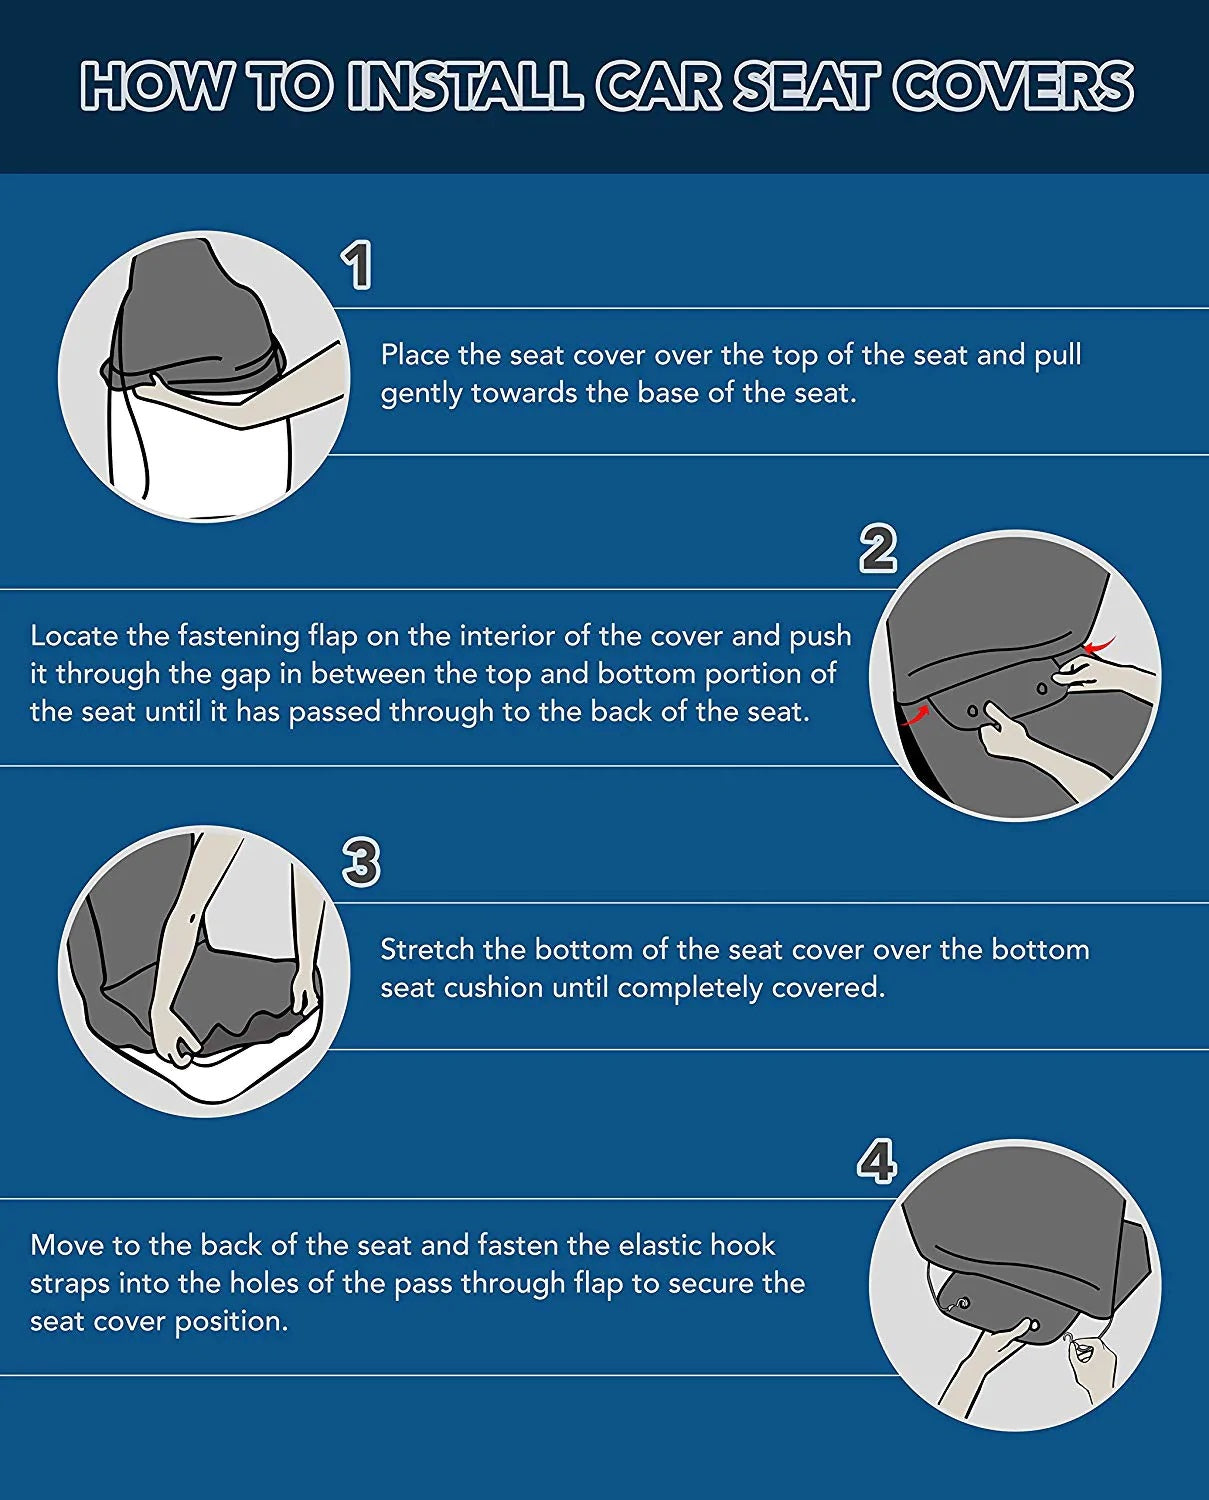
Step-by-step Guide To Reattaching The Graco Car Seat Cover
Let’s break down the process into clear steps. While each Graco model is a bit different, these instructions cover the most common convertible and infant seats.
1. Check For Model-specific Features
Start by identifying your specific Graco car seat model. Look for the label under the seat or on the side. Some models have unique features like snaps, extra padding, or different harness slots. Knowing your model helps avoid confusion if the fit seems off.
2. Lay Out The Cover And Seat
Place the car seat on your work surface. Lay the clean cover next to it. Check for any foam inserts, extra pads, or support cushions. Arrange all pieces in the order you removed them if possible.
3. Feed The Harness Straps Through
Slide the harness straps and crotch buckle through the cover’s slots. This step is key: if you miss a slot, you may have to start over. Pull the straps through gently, making sure they are not twisted. For most Graco seats, you’ll have:
- Two shoulder harnesses
- Crotch buckle
- Waist straps (on some models)
If your cover has built-in slots, match them with the car seat’s harness slots. Double-check that all straps are visible and not hidden under the cover.
4. Attach The Cover At The Top
Start at the headrest or the top of the seat. On many Graco seats, the cover will have elastic edges that fit snugly over the shell. Stretch the cover over the top and pull it down evenly on both sides. Make sure it hugs the seat tightly.
5. Fit The Sides And Arm Areas
Work your way down each side. Some Graco seats have plastic hooks or Velcro strips along the edges. Fasten these as you go. If you feel resistance, check for hidden hooks or loops inside the cover fabric. Don’t force the fabric—it should fit without stretching or bunching.
6. Secure The Bottom And Buckle Area
Pull the cover down around the leg and buckle area. The crotch buckle should fit through its slot. On some models, the cover has a flap with a hole for the buckle. Push the buckle up from under the seat and pull the cover down around it.
7. Attach Any Snaps, Hooks, Or Buttons
Many Graco covers use snaps or small hooks to keep the cover tight. Snap these in place, especially around the harness slots and headrest. If you find extra fabric, look for hidden snaps or elastic loops that secure under the seat.
8. Reinstall Padding And Accessories
Replace any infant inserts or head cushions. These usually have clear slots or Velcro to fit into the main cover. If your model has extra side-impact padding, add it now.
9. Double-check All Openings
Make sure all harness slots, belt paths, and labels are visible. None should be covered by the fabric. This helps with both safety and future adjustments.
10. Test The Fit
Finally, gently pull on the cover in different spots. It should stay in place without sliding around. Check that all straps move freely and that the buckle clicks into place without obstruction.
Visual Comparison: Common Graco Cover Attachment Styles
Graco offers several seat types, each with its own cover attachment method. Here’s a quick comparison:
| Model Type | Attachment Method | Unique Feature |
|---|---|---|
| SnugRide Infant | Elastic Edges & Snaps | Removable Head Support |
| 4Ever Convertible | Plastic Hooks & Velcro | Multiple Recline Positions |
| Extend2Fit | Elastic Edges & Buttons | Adjustable Leg Panel |
Knowing your model helps you spot which fasteners to look for as you reassemble.

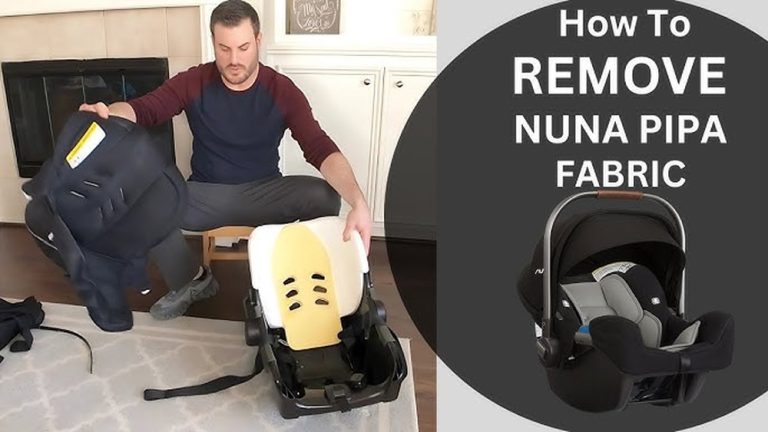
Credit: www.youtube.com
Tips For A Smooth Reassembly
Even if you follow the steps, a few expert tips can make the process easier and faster.
- Take photos during removal. Even a few quick shots with your phone can save you from guessing later.
- Lay out all small parts. Some Graco seats have tiny hooks or inserts that are easy to lose.
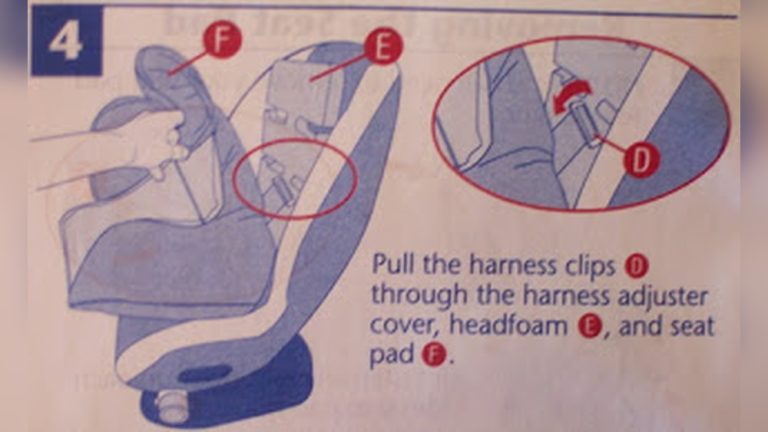
- Don’t skip the manual. Diagrams show exact slot positions. If you’re not sure, check the manual rather than forcing parts.
- Avoid stretching elastic. If the cover seems too tight, check for missed straps or snaps before pulling hard.
- Let the cover air dry fully. Even a little dampness can lead to mold or a loose fit.
- Check harness movement. After reassembly, pull the harness tight to make sure it slides smoothly.
Mistakes To Avoid
Many parents make a few common errors when replacing a car seat cover. Avoid these to keep your child safe and comfortable.
- Missing a harness slot: If a strap is under the cover, the seat may not work as designed.
- Covering warning labels: Safety instructions must always be visible.
- Forgetting padding pieces: Some inserts are easy to overlook but critical for comfort and safety.
- Improper buckle slot use: The crotch buckle should always come through the correct slot for your child’s size.
- Using a damp cover: Moisture can lead to mildew and odor.
How Long Does It Take?
On average, putting a Graco car seat cover back on takes about 15–30 minutes. If it’s your first time, allow a bit more time for checking the manual and fitting the cover neatly.
When To Replace The Cover
Sometimes, a cover is too damaged to reuse. Replace your Graco car seat cover if you notice:
- Torn fabric or broken fasteners
- Elastic that is stretched out and won’t stay in place
- Mold or stains that won’t wash out
- Missing pieces that affect the fit
Always use official Graco replacement covers. They’re made to fit your model and pass all safety tests. Generic covers may not fit securely or could hide important instructions.
Safety Checks After Reassembly
After you finish, do a final safety check:
- All straps and buckles are accessible and untwisted.
- The cover fits tightly with no loose areas.
- Safety labels and belt paths are clear.
- Padding is in the correct location.
If anything feels wrong or you’re unsure, check the manual or contact Graco’s support team. It’s better to spend a few extra minutes than risk your child’s safety.
Quick Reference: Graco Cover Reassembly Checklist
Here’s a simple checklist you can use every time:
- Identify your car seat model.
- Gather all parts and tools.
- Feed harnesses and buckles through the correct slots.
- Attach cover from top to bottom.
- Fasten all snaps, hooks, and Velcro.
- Replace all inserts and cushions.
- Check for visible labels and open harness slots.
- Test harness movement and buckle function.
- Inspect for proper fit and tightness.
- Clean up and enjoy your like-new car seat.
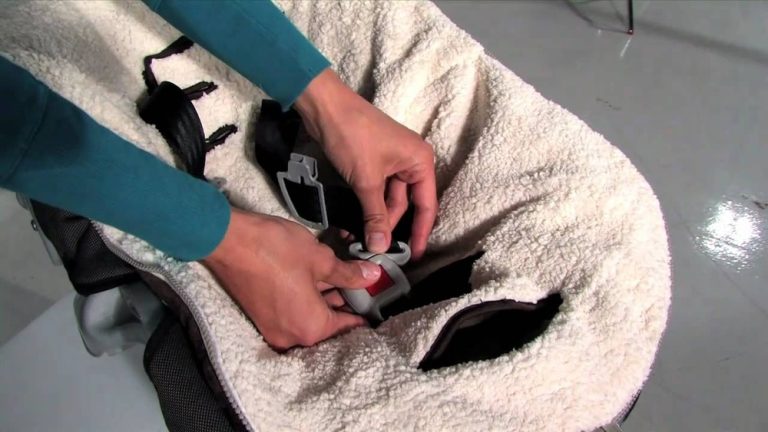
Credit: puppipop.com
Data: Most Common Graco Cover Issues (survey)
To understand where parents struggle, here’s what a 2022 survey of 300 Graco users found:
| Issue | Percentage of Users |
|---|---|
| Difficulty finding correct slots | 48% |
| Missing snaps/hooks | 29% |
| Cover too tight or loose | 15% |
| Unclear manual instructions | 8% |
This shows that most problems are with slot alignment and small fasteners—so pay extra attention to these areas.
Where To Find Help
If you’re stuck, Graco’s official website has model-specific guides and videos. You can also call their customer support for help. Some parents find video walkthroughs on YouTube very helpful, especially for visual learners.
For step-by-step diagrams and more, check the official Graco Baby website.
Frequently Asked Questions
How Do I Know Which Slot To Use For The Harness?
Check your child’s height and weight in the manual. The harness should go through the slot at or just above your child’s shoulders. If you’re not sure, the car seat manual has a chart for each model.
Can I Machine Wash The Car Seat Cover?
Most Graco covers are machine washable, but always check the label first. Use cold water, gentle cycle, and air dry. Never put the cover in the dryer, as heat can shrink or damage elastic.
What If The Cover Feels Too Tight?
Double-check that all harnesses and buckles are in the correct slots. If the cover is still too tight, you may have missed a step or used the wrong slot. Never force it—check the manual or call Graco if you’re stuck.
Is It Safe To Use A Homemade Or Third-party Cover?
No, only use covers made for your Graco model by Graco. Third-party covers may not fit correctly and can block safety features or labels.
What Should I Do If I Lose A Snap Or Hook?
Contact Graco for replacement parts. Never use pins, tape, or glue to fix a car seat cover, as these can be unsafe and may void your warranty.
Putting a Graco car seat cover back on takes patience, but the results are worth it. When you take your time and follow each step, you help keep your child both comfortable and protected on every ride. And next time, you’ll do it even faster.