How to Put on Seat Covers in Car: A Step-by-Step Guide
Putting seat covers on your car might sound easy, but many people struggle with it. If you want to protect your seats, give your car a fresh look, or cover old stains, the right seat covers make a big difference.
However, poor installation can cause discomfort, safety issues, or even damage your new covers. This guide will show you the best way to put on seat covers, step by step, so you get a perfect fit that lasts.
Why Use Seat Covers?
Seat covers do more than change the appearance of your car’s interior. They provide important benefits:
- Protection from spills, dirt, and UV rays
- Comfort with added cushioning or breathability
- Preservation of your car’s resale value
- Style and customization for your taste
Over time, seats can fade or crack, especially in hot climates. A good cover acts as a shield, keeping your seats in better shape.
What You Need Before You Start
Installing seat covers is much easier if you gather everything first. Here’s what you should have on hand:
- Seat covers (front and back, correct size for your car)
- User manual (for both car and seat covers, if available)
- Flat tool (like a plastic spatula) to tuck in fabric
- Scissors (for cutting holes if needed)
- Clips or hooks (usually included with covers)
- Vacuum or cloth (for cleaning before installation)
Some car seats have airbags or special electronics. Always check your car manual before removing or covering seats to avoid safety issues.

Credit: www.youtube.com
Choosing The Right Seat Covers
Not all seat covers are created equal. Picking the wrong type can lead to a bad fit or even block airbags. Here’s how different types compare:
| Type | Material | Best For | Pros | Cons |
|---|---|---|---|---|
| Universal Fit | Polyester, Neoprene | Most cars | Low cost, easy to find | May not fit snugly |
| Custom Fit | Leather, Canvas | Specific models | Perfect fit, looks OEM | Higher price, order time |
| Bucket Seat | Varied | Sports cars, trucks | Sporty style, fits well | Not for bench seats |
| Bench Seat | Cloth, Vinyl | Back seats, old cars | Easy for rear seats | Limited style options |
Non-obvious insight: Many buyers forget to check if covers are compatible with side airbags. Always look for “airbag compatible” labels.
Step-by-step: How To Put On Seat Covers
Installing seat covers the right way prevents bunching and keeps safety features working. Here’s a clear process anyone can follow.
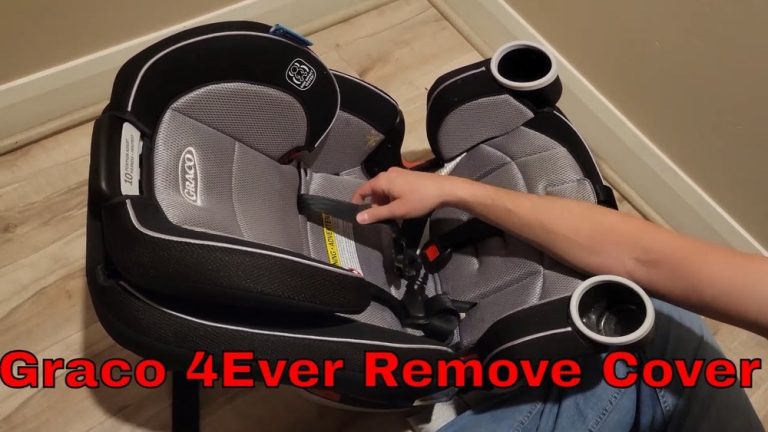
1. Prepare Your Car Seats
First, remove anything from the seats—old covers, cushions, or trash. Vacuum or wipe the seats so dirt doesn’t get trapped.
- Fold down rear seats if possible for easier access.
- Move front seats forward and back to clear space.
2. Unpack And Inspect Seat Covers
Take everything out of the package and lay the pieces flat. Identify which part goes where: backrest, seat cushion, and headrest.
Tip: Read the instructions included with your seat covers. Some have special installation steps.
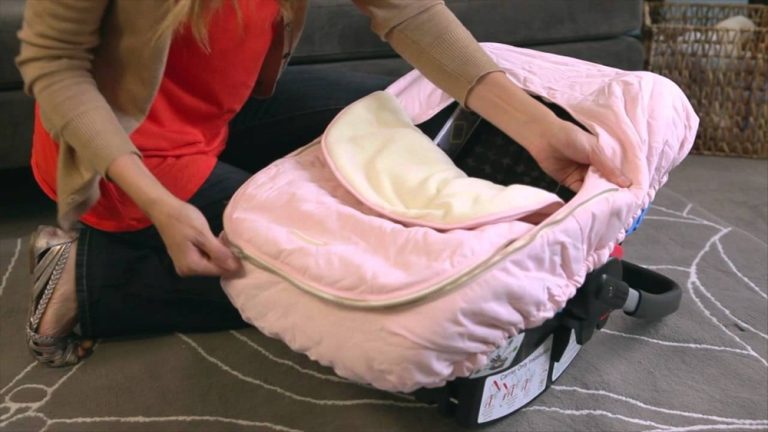
3. Fit The Backrest Cover
Start with the backrest. Slide the cover over the top of the seat, pulling it down gently. Smooth it so there are no wrinkles.
- Align openings for headrests, seat belt, or armrests.
- If your seat has a lever or handle, cut a small hole only as needed.
4. Attach The Seat Cushion Cover
Next, fit the seat cushion section. Pull it over the bottom of the seat, making sure the seams line up. Tuck the fabric into the gap between the backrest and cushion.
- Use your flat tool to push fabric deep into crevices.
- If there are straps, run them under the seat and connect them at the back.
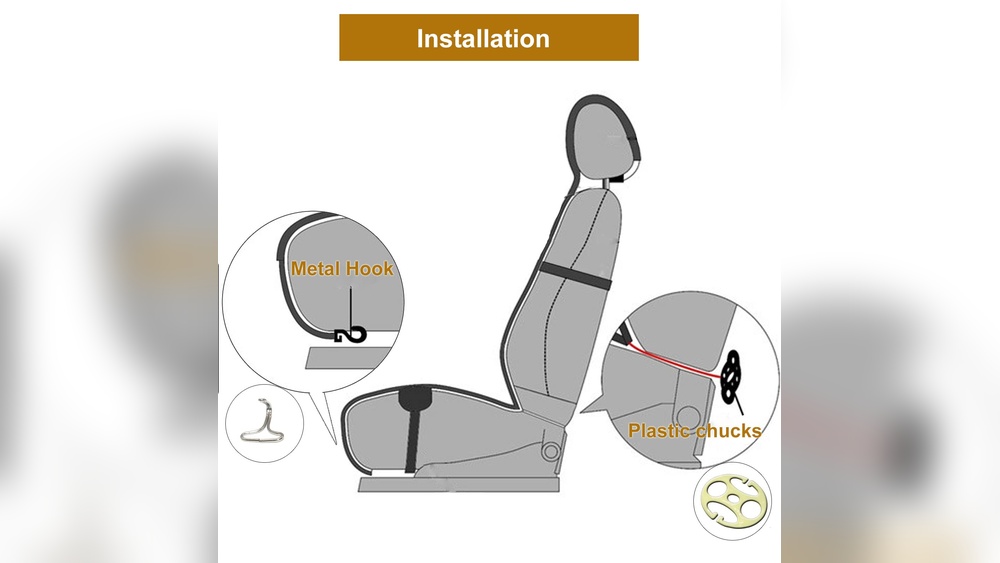
5. Secure With Hooks And Straps
Most seat covers include hooks, straps, or elastic loops. Fasten these under the seat to keep the cover in place.
- Attach hooks to metal bars (but not to moving parts or airbags).
- Tighten all straps so the cover fits snugly.
Loose covers can shift during driving, so don’t skip this step.
6. Install Headrest Covers
Remove the headrest if possible. Slide the cover over it, making sure it fits well. Re-insert the headrest through the holes in the cover.
- Adjust so the fabric sits smoothly.
- For split headrests, check that each cover matches its size.
7. Repeat For All Seats
Follow the same steps for every seat in your car: driver, passenger, and rear seats. Rear bench seats might need more time, as you may need to fold or remove them.
8. Adjust And Check Everything
Sit in each seat and check for comfort. Make sure all covers are tight, with no loose fabric or blocked seat controls. Test seat belts, airbags, and any electronic features.
Non-obvious insight: After a week, re-tighten straps and smooth fabric. Covers stretch a little with use.
Special Cases: Common Seat Cover Challenges
Sometimes, standard instructions don’t cover tricky situations. Here’s what to do in special cases.
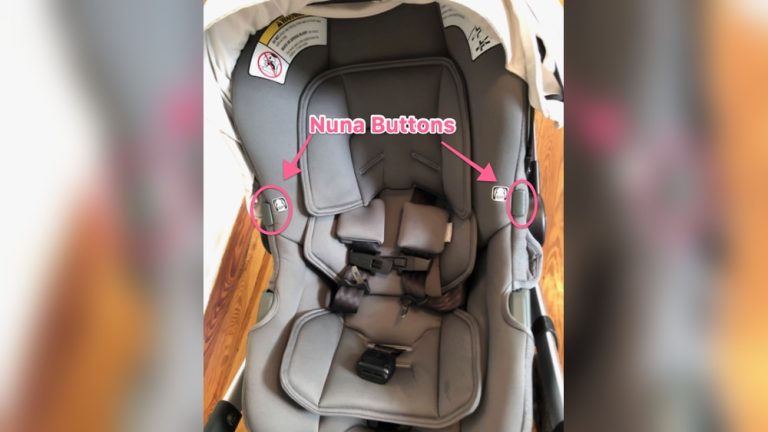
Seats With Built-in Airbags
Many new cars have side airbags in the seats. Using the wrong cover can block them and is unsafe.
- Only use airbag-compatible covers
- Never tape, glue, or pin anything over airbag seams
Seats With Built-in Armrests
Some seats have armrests that fold up or down.
- Look for covers with zipper openings for armrests
- If not, carefully cut a slit (follow instructions!)
Heated Or Cooled Seats
Covers can block heat or cooling functions. Check the product label:
- Use perforated covers for air-cooled seats
- Thin, non-insulated materials work best for heated seats
Split Rear Seats
Many cars have rear seats that fold down in sections.
- Make sure covers have zippers or Velcro for folding parts
- Double-check that seat belts and child seat anchors are accessible
Mistakes To Avoid When Installing Seat Covers
Even with good instructions, some mistakes are common:
- Ignoring airbag compatibility: This is a real safety risk.
- Not cleaning seats first: Dirt can cause the cover to slip and wear out faster.
- Incorrect fit: Universal covers may need extra adjustment.
- Covering important controls: Make sure power seat buttons and levers are free.
- Cutting too much: Always cut small holes and check fit before making larger cuts.
Maintaining Your Seat Covers
Good installation is only half the battle. Keeping seat covers clean and in good shape helps them last longer.
- Vacuum weekly to remove dust and crumbs.
- Spot clean stains quickly with mild soap.
- For fabric covers, remove and wash as needed (check care label).
- For leather or vinyl, use a damp cloth and special cleaner.
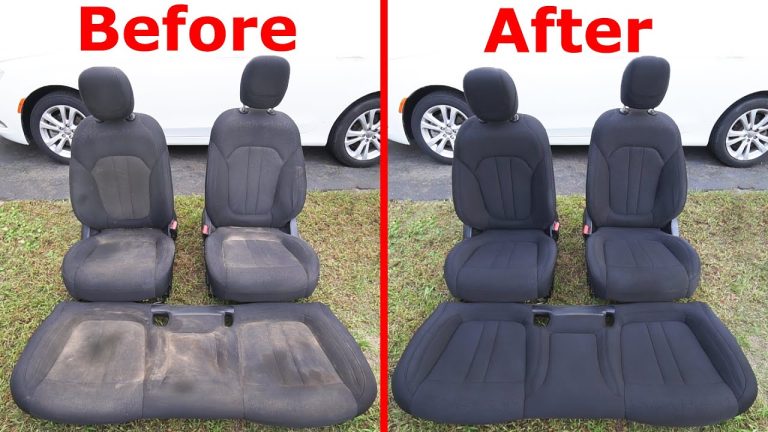
Data shows that clean, well-maintained seat covers can extend the lifespan of your original seats by up to 50%.
How Seat Covers Affect Car Value
You might wonder if covers are worth the effort. Resale experts say a car with clean, protected seats can sell for hundreds more than one with stained or worn seats.
Here’s a quick comparison:
| Condition | Estimated Resale Value |
|---|---|
| Original seats, good condition | +5% over average price |
| Seats with covers, clean | +3% over average price |
| Stained or damaged seats | -10% below average price |
Protecting your seats with covers is a smart way to keep your car’s value high.
When To Replace Seat Covers
No seat cover lasts forever. Here are signs it’s time to replace them:
- Fabric is torn or worn thin
- Covers slip or don’t stay in place
- Stains or odors don’t come out
- Elastic or straps are stretched out
Most covers last 2-5 years, depending on use and material quality.
Troubleshooting: What To Do If Covers Don’t Fit
If your covers are too loose, too tight, or just not right:
- Double-check you have the correct size or model
- Adjust straps and try tucking in fabric more deeply
- For universal covers, extra padding under the cover can help fill gaps
- Contact the seller if you received the wrong product
Sometimes, even “universal” covers won’t fit special seats (like sports or luxury models). In these cases, custom-made covers are the best option.
Tips For A Professional-looking Finish
Want your car to look like it just rolled out of the showroom? Here’s how to get that perfect finish:
- Smooth all wrinkles before tightening straps
- Match the pattern or seams of the cover to the seat’s original lines
- Use a steam iron (if allowed) to relax stubborn wrinkles before installing
- Take your time—rushing leads to mistakes
If you want more background on seat covers and car safety, see this Wikipedia article on car seats.
Frequently Asked Questions
How Long Does It Take To Install Seat Covers?
It usually takes about 30 minutes to 1 hour for all seats, depending on your car and the type of covers. Custom-fit covers are usually faster because they match the seat exactly.
Can I Install Seat Covers Myself, Or Do I Need A Professional?
Most people can install seat covers themselves with patience and basic tools. A professional can help if you want a factory-perfect look or have complex seats (like luxury or sports cars).
Will Seat Covers Affect My Airbags?
If you use airbag-compatible seat covers, your airbags will work normally. Never use regular covers on seats with side airbags, as they can block deployment and put you at risk.
How Do I Wash My Seat Covers?
Check the care label first. Most fabric covers can be removed and washed in a machine. Leather or vinyl covers should be wiped with a damp cloth and mild cleaner. Never use harsh chemicals.
Are Seat Covers Safe For Heated Seats?
Most seat covers are safe, but thick or padded covers can block heat. Use thin, breathable covers designed for heated seats, and always read the product label to be sure.
Putting on seat covers is a practical way to protect your car, add comfort, and keep your interior looking sharp. With the right tools and steps, you can install them yourself and enjoy the benefits every time you drive. Take your time, follow each step, and your car’s seats will look great for years to come.