How to Install Car Cover Seat: Step-by-Step Guide for Beginners
Car seat covers are one of the most practical accessories you can buy for your car. They protect your original seats from dirt, spills, and sun damage, help maintain your car’s resale value, and even add style or comfort. However, many people find installing car seat covers tricky, especially if it’s their first time.
The good news is that you don’t need to be a mechanic or a car expert—just a little patience and the right steps.
This guide will take you through every part of the process, from choosing the right seat covers to making sure they fit perfectly. You’ll learn how to avoid common mistakes, get tips to make installation easier, and understand what to do if something doesn’t go as planned.
With clear instructions and honest advice, you’ll finish with seats that look great and last longer.
Understanding Car Seat Covers
Before you start, it helps to know the types of car seat covers and why choosing the right one matters. Seat covers come in different materials, designs, and fit types.
- Universal seat covers are made to fit most car models. They’re usually cheaper but may not fit perfectly.
- Custom-fit seat covers are designed for your exact car make and model. They cost more but look and feel like a factory finish.
- Materials include fabric, leatherette, neoprene, and genuine leather. Each has different benefits for comfort, durability, and appearance.
For example, if you live in a hot climate, breathable fabric or mesh covers may keep you cooler than synthetic leather. If you have children or pets, waterproof neoprene or heavy-duty polyester can handle spills and scratches better.
Preparing For Installation
Proper preparation makes installation smoother and prevents damage to your car or the covers.
What You Need
- Car seat cover set (check the packaging for all pieces)
- Basic tools: Scissors, flathead screwdriver, and possibly pliers
- Vacuum cleaner and microfiber cloth
- A well-lit space and enough time (plan for 30-60 minutes if it’s your first time)
Steps Before You Start
- Read the instructions: Every seat cover set is a little different. Always check the manual or included guide.
- Vacuum your seats: Remove dust, crumbs, and debris. Clean seats help the covers fit better and last longer.
- Remove headrests: Most seat covers need you to take out the headrests. There’s usually a button or latch at the base to release them.
- Check for special features: Are there airbags in the seats? Do you have fold-down armrests or split seats? Make a note, since some covers aren’t compatible with seat airbags or certain seat types.
Non-obvious tip: Lay out all the pieces and match them to each seat before starting. This avoids confusion and mix-ups during installation.
Installing The Front Seat Covers
The front seats are usually the most used and most visible. They also tend to have the trickiest fit because of their shape and any controls or airbags.
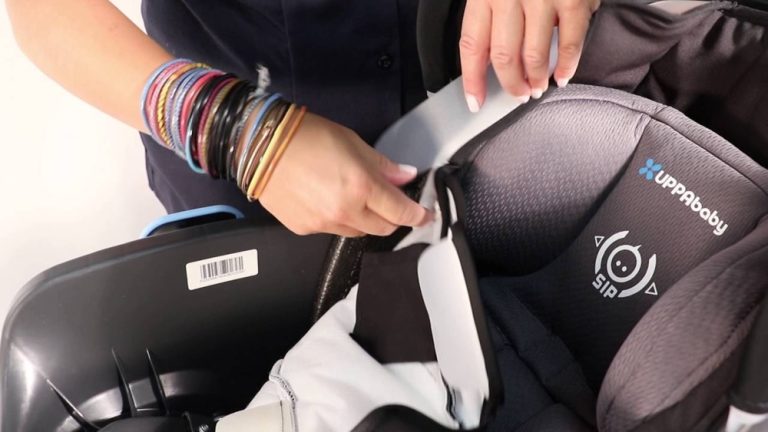
Step 1: Slide The Cover Over The Seat
Pull the seat cover over the top of the seat back. Make sure the seams match the edges of the seat. Gently pull it down, working out any wrinkles as you go.
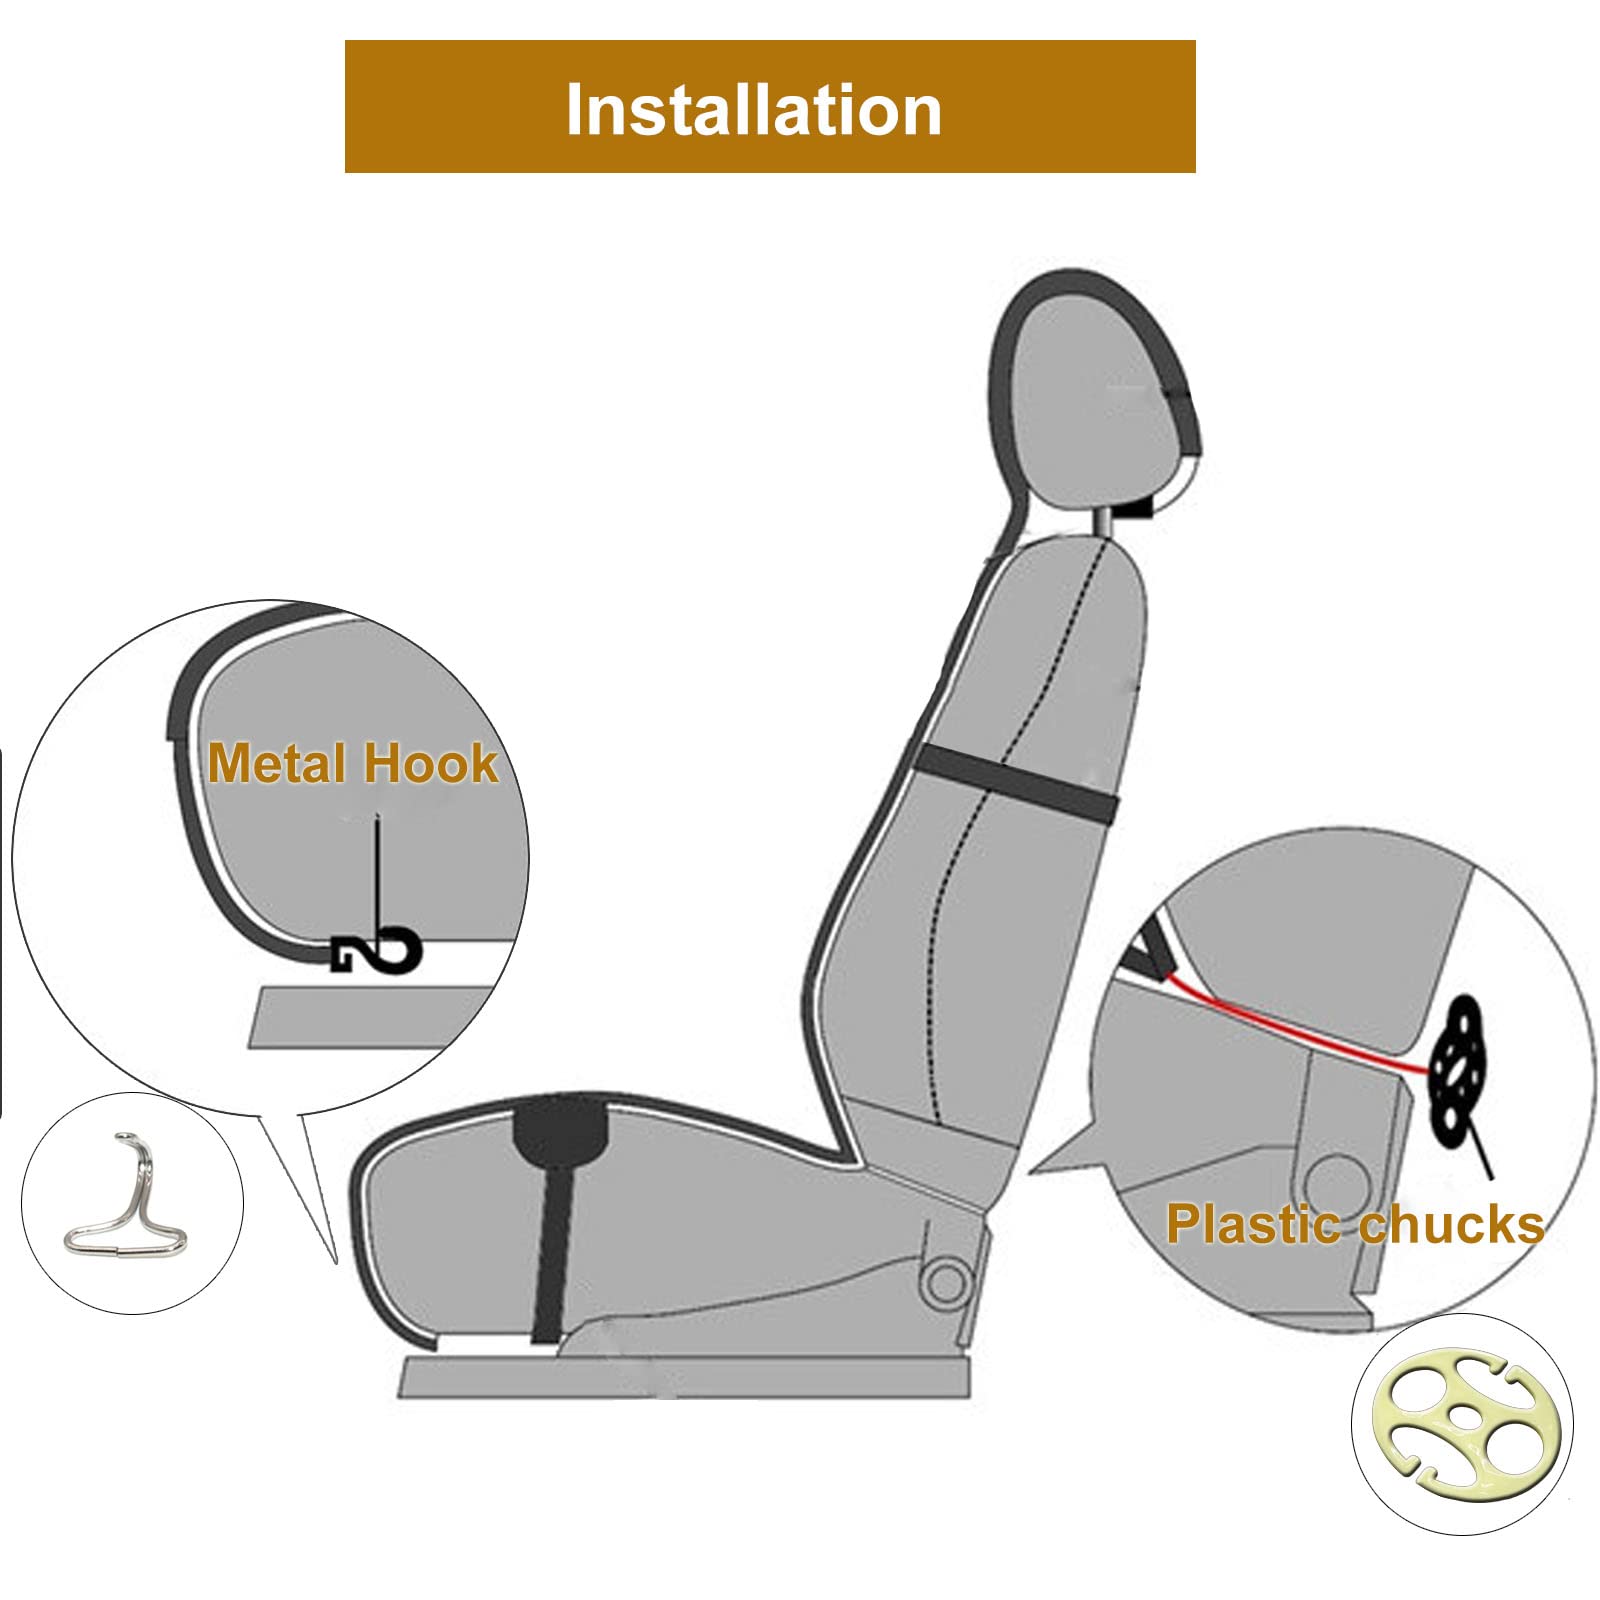
Step 2: Tuck In Flaps And Secure
Most covers have flaps, straps, or hooks. Tuck the flaps into the gap between the seat back and bottom. Reach under the seat to grab them and pull tight.
- If there are hooks, attach them to springs or metal under the seat. Avoid sharp edges that can tear the straps.
- For seats with airbags, make sure you’re not blocking the airbag panel.
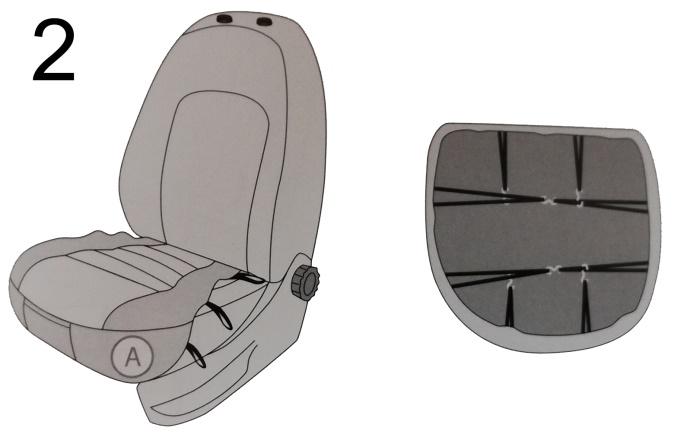
Step 3: Install The Seat Bottom Cover
Lay the bottom cover on the seat. Push the fabric or straps through the creases. Fasten hooks, Velcro, or drawstrings under the seat as tightly as possible. A snug fit keeps the cover from sliding when you enter or exit the car.
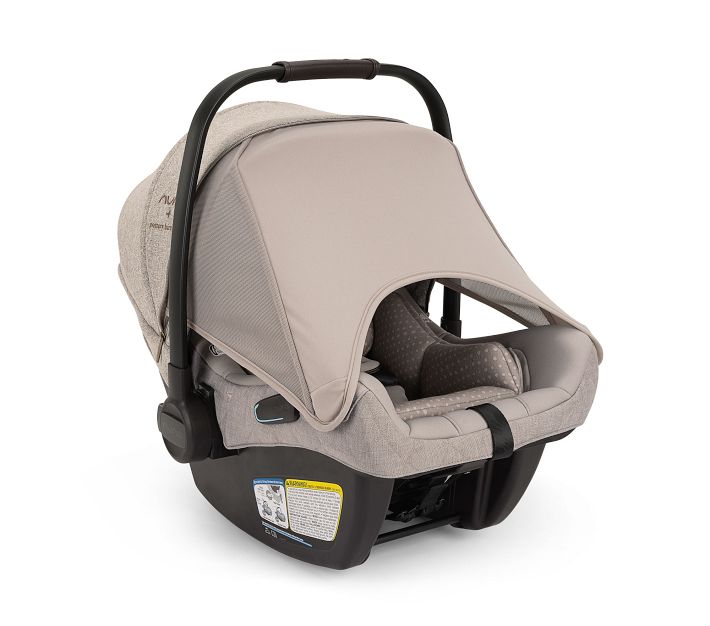
Step 4: Replace Headrests And Add Covers
Put the headrest cover on, then return the headrest to the seat. Some covers have pre-cut holes, but if not, you may need to make a small slit with scissors—be careful to cut only the fabric and not too wide.
Non-obvious tip: Adjust the seat to its farthest back position before working. It gives you more space to reach under and behind.
Installing The Rear Seat Covers
Back seat covers can be more complex due to split seats, armrests, or seat belts. The process is similar but may require extra steps.
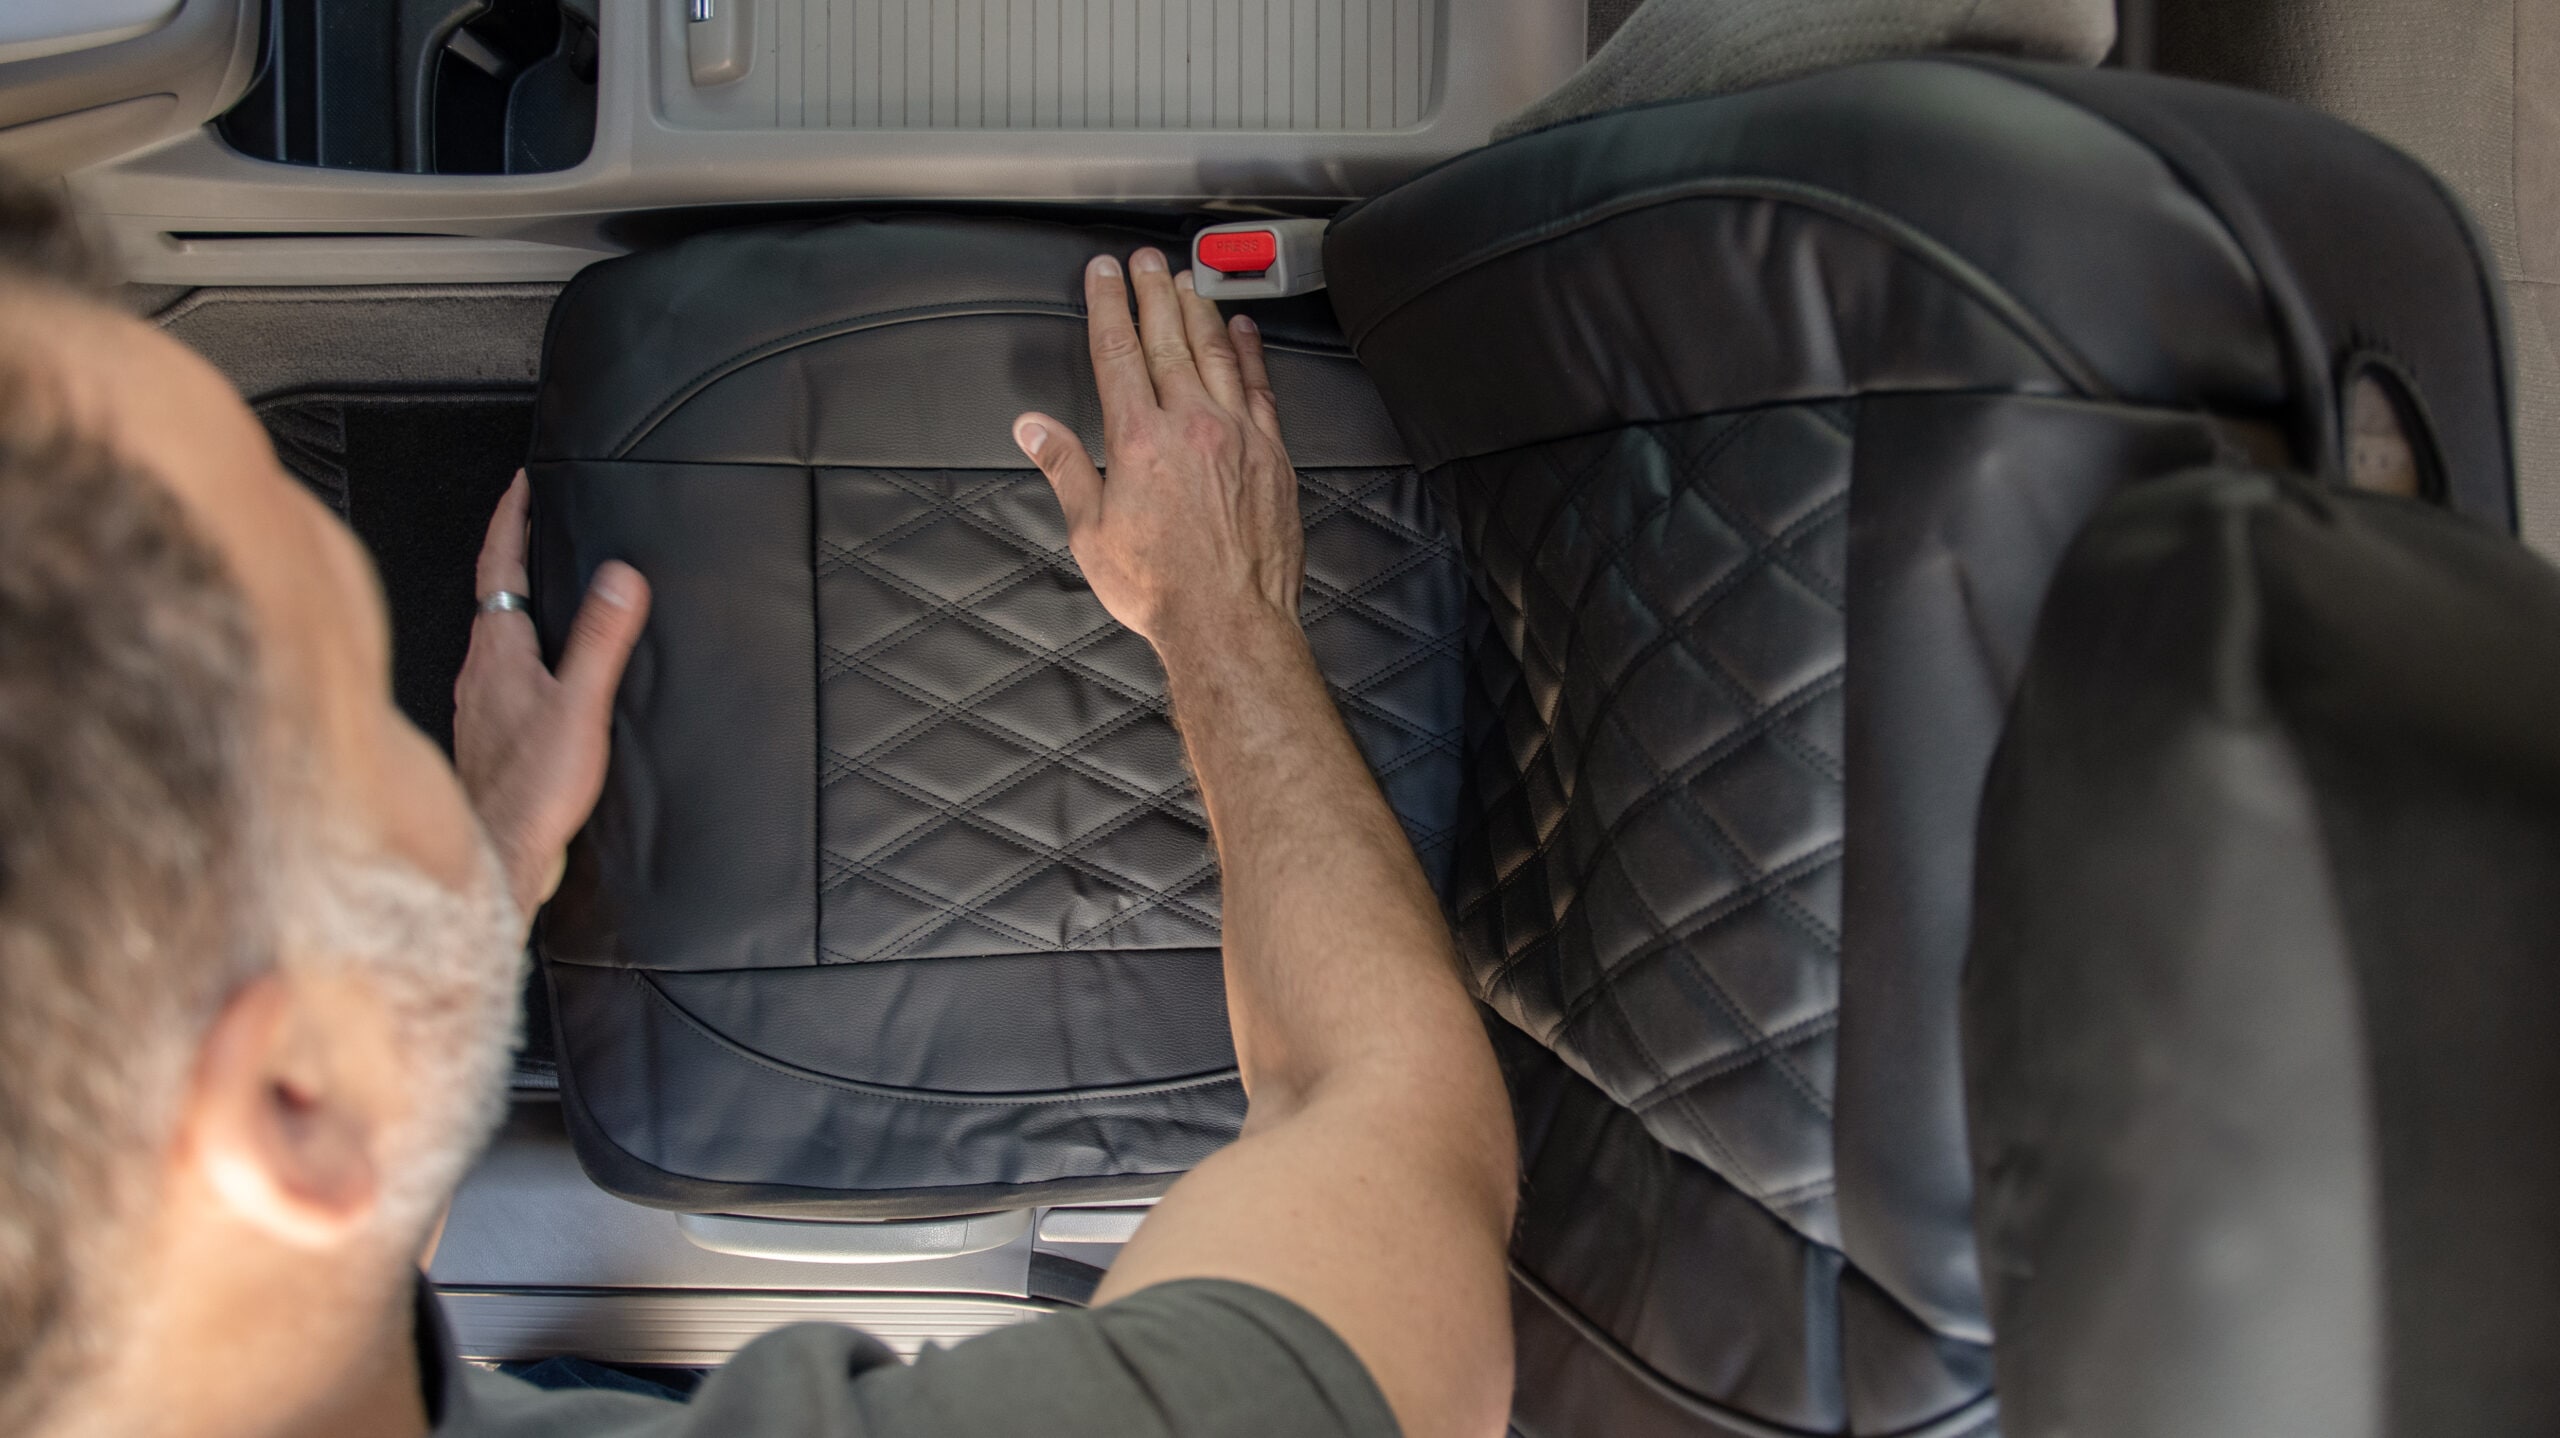
Step 1: Remove The Rear Seat Bottom (if Possible)
Many cars have rear seat bottoms that pop out. Check your car manual for instructions. Removing the bottom gives a much neater fit and makes it easier to attach straps.
Step 2: Position The Cover
Lay the cover over the seat or seat back. Make sure any cutouts or zippers align with seat belt slots or armrests.
Step 3: Secure Straps And Flaps
Thread the straps through the gaps between the seat back and bottom. Attach them underneath or behind, pulling snug. Zip up any zippers to allow for split-fold seats or armrests.
Step 4: Reinstall The Seat Bottom And Headrests
If you removed the seat bottom, put it back in place. Add the headrest covers and reinstall headrests. Double-check that seat belts are accessible and not blocked.
Step 5: Finish With Armrest And Console Covers
Some sets include covers for center armrests or consoles. These usually slip over and secure with Velcro or elastic.
Practical example: If your rear seat folds down in two sections (60/40 split), use the zippers or Velcro panels to allow each section to move independently. Don’t cover seat belt buckles—always keep them usable.
Credit: www.autozone.com
Adjusting And Checking The Fit
Installation isn’t finished until you check every detail.
- Smooth out wrinkles: Tug gently at the edges and smooth with your hands for a clean look.
- Tighten straps: Loose covers wear faster and can be uncomfortable. Re-check all hooks, ties, and Velcro.
- Check safety features: Make sure airbag panels aren’t blocked and seat belts work.
- Test adjustability: Slide seats back and forth, fold seats if needed, and make sure nothing is stuck or pinched.
Data insight: According to car accessory surveys, over 40% of users report early wear or damage because covers were not installed tightly enough. Take time now to avoid problems later.
Extra Tips For A Professional Finish
- Warm up covers before installing: If your covers are wrinkled from packaging, leave them in the sun for 10-20 minutes. The material will be softer and easier to stretch.
- Use a plastic spatula or butter knife: For stubborn gaps, a dull tool can help tuck fabric deep without damaging the seat.
- Label pieces before starting: Use sticky notes to mark left/right or front/rear, especially if the covers aren’t labeled.
- Take pictures: If you ever need to reinstall, a photo of each step can be very helpful.
Common Mistakes To Avoid
- Ignoring instructions: Every car and cover set is different. Skipping the manual can lead to poor fit or damage.
- Cutting too much: Only make small cuts if necessary for headrest posts or seat belts. Too large and the cover may tear.
- Forgetting seat functions: Don’t block folding seats, storage compartments, or levers.
- Rushing the job: Taking time means fewer wrinkles and a better final result.
Care And Maintenance After Installation
Your new seat covers will last longer if you clean and care for them properly.
- Vacuum regularly: Dirt and crumbs can wear fabric and seams.
- Spot clean spills: Use a damp cloth for most fabrics or a mild cleaner for tougher stains.
- Remove covers for deep cleaning: Some covers are machine washable—check the tags first.
- Check fit every few months: Straps can loosen with use. Tighten them to keep covers looking fresh.
Example: Polyester or neoprene covers are often safe for machine washing, while leatherette should only be wiped clean.
Credit: delicate-leather.com
Comparing Seat Cover Materials
To help you choose the right cover for your needs, here’s a quick comparison:
| Material | Comfort | Durability | Water Resistance | Cost |
|---|---|---|---|---|
| Fabric | High | Medium | Low | Low |
| Leatherette | Medium | High | Medium | Medium |
| Neoprene | Medium | Very High | High | High |
| Genuine Leather | Very High | High | Medium | Very High |
Universal Vs. Custom-fit Covers
Not sure whether to buy universal or custom-fit seat covers? This side-by-side look can help:
| Type | Fit | Installation Time | Price | Appearance |
|---|---|---|---|---|
| Universal | Loose to Moderate | Shorter | Lower | Basic |
| Custom-Fit | Exact | Longer | Higher | Factory Look |
Credit: www.cover-company.com
When To Replace Or Upgrade Your Seat Covers
Even the best seat covers won’t last forever. Here are signs it’s time for new ones:
- Visible tears or holes
- Loose straps or sagging material
- Stains or odors that don’t come out
- Material feels rough or uncomfortable
- Upgrading car style or selling the car
On average, good-quality covers last 2-5 years with regular use. Higher-end materials like neoprene or leatherette may last longer, especially with proper care.
Frequently Asked Questions
How Long Does It Take To Install Car Seat Covers?
Most people need 30 to 60 minutes to install a full set, depending on experience and cover type. Universal covers are faster, while custom-fit covers take more time for a perfect finish.
Can I Install Seat Covers If My Seats Have Airbags?
Yes, but you must use seat covers designed for airbag compatibility. Never block side airbag panels. Check the packaging for “airbag safe” labels. Learn more about airbag safety at NHTSA.
Do I Need Special Tools To Install Car Seat Covers?
Usually, you only need basic tools like scissors and a flathead screwdriver. Some cars may need pliers to remove headrests, but no special equipment is required.
Are Car Seat Covers Machine Washable?
Some are, but not all. Fabric and neoprene covers are often safe for machine washing, while leatherette and genuine leather should be hand cleaned. Always check the care label before washing.
Will Seat Covers Affect Heated Or Cooled Seats?
Most modern seat covers are compatible with heated seats, but thick or poorly fitting covers can reduce the effect. For cooled seats, airflow may be blocked. Choose thin, breathable materials if you use these features often.
Installing car seat covers may take a little time, but it’s a smart way to protect your investment and enjoy a fresh, new look every time you drive. With the right preparation, attention to detail, and care, your seats will look good and stay comfortable for years to come.