How to Put Uppababy Mesa Car Seat Cover Back on Easily
Getting your Uppababy Mesa car seat cover back on after washing can feel like solving a puzzle for the first time. Many parents find it challenging, especially when dealing with multiple straps, clips, and fabric sections. But with the right steps and a bit of patience, you can reattach the cover correctly and ensure your child’s car seat is as safe and comfortable as before. This guide will walk you through every detail, offer practical tips, and address common mistakes—so you can confidently put your Mesa seat cover back on without stress.
Why Proper Reassembly Matters
When you remove the car seat cover for cleaning, it’s essential to put it back on the right way. A loose or misaligned cover can interfere with the harness system, making the seat less safe. Additionally, an incorrectly fitted cover can lead to discomfort for your child and even cause premature wear on the seat itself.
Many parents overlook how tightly the fabric needs to fit, and some ignore the alignment of harness slots or the chest clip. Taking time to do this process carefully ensures the Uppababy Mesa continues to meet strict safety standards.
What You Need Before Starting
Before you begin, gather these items:
- The clean, dry Mesa seat cover
- All original pads and inserts (including the infant insert if you use it)
- The Uppababy Mesa car seat, fully assembled
- A clean workspace
- Patience and 20–30 minutes of uninterrupted time
If you misplaced your manual, the official Uppababy user manual is a helpful reference.
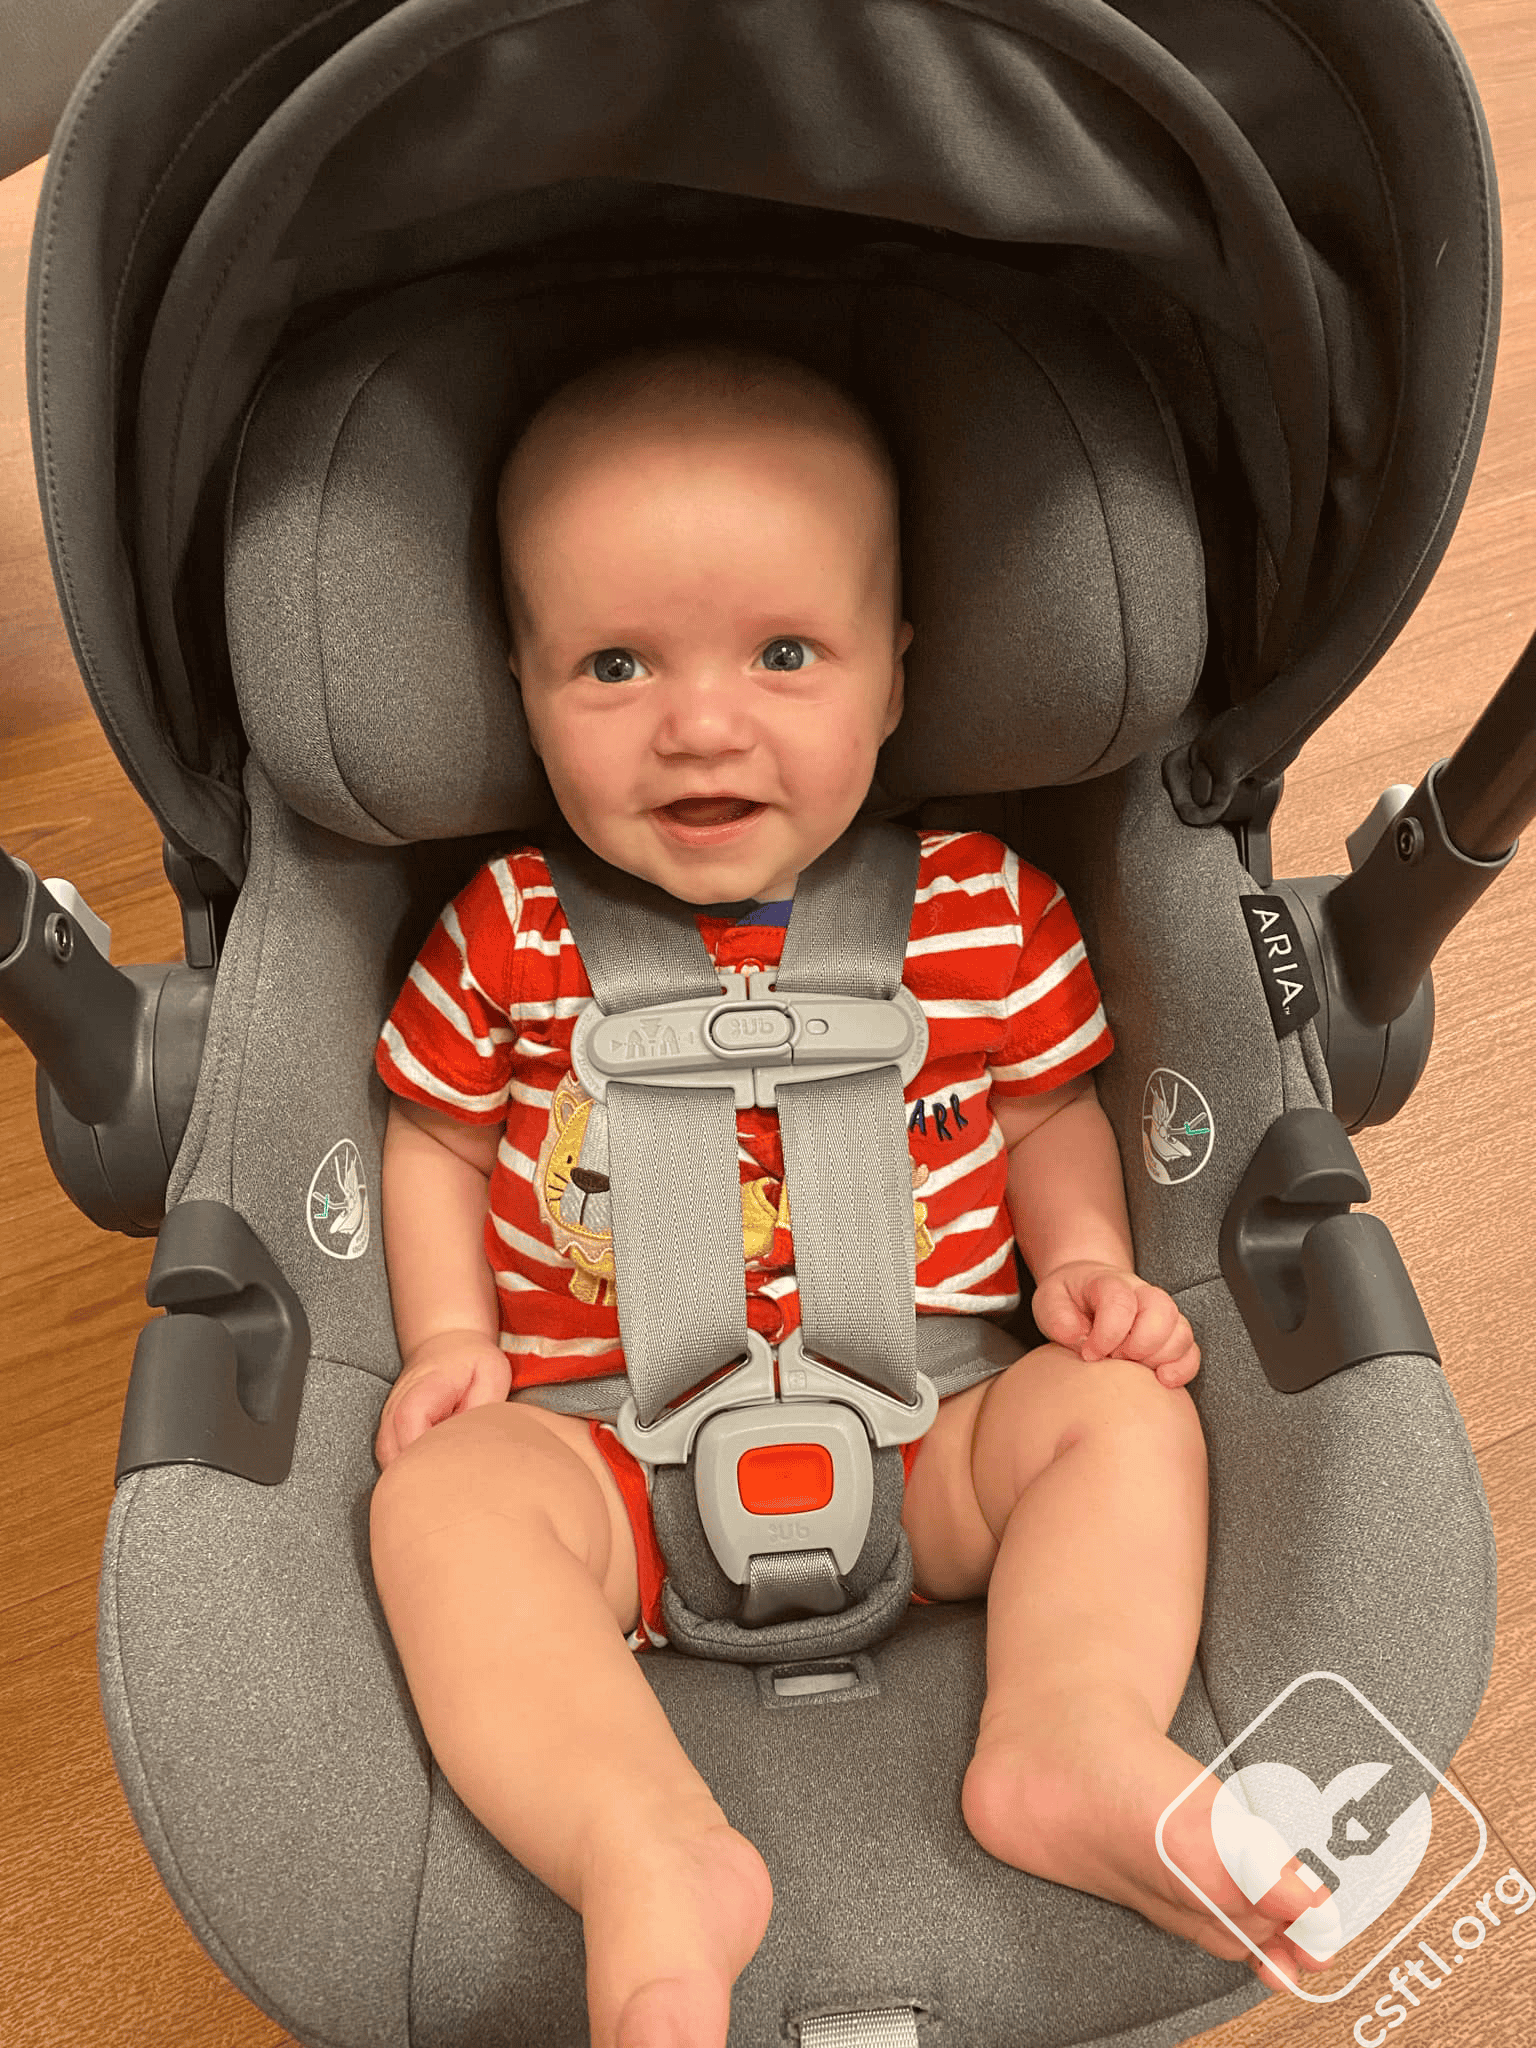
Credit: csftl.org
Step-by-step: Putting The Uppababy Mesa Car Seat Cover Back On
1. Inspect All Parts
Start by checking the seat cover, harness straps, and any inserts for wear or damage. Confirm that everything is dry and free of soap or detergent residue. This is important to prevent mold and ensure proper fit.
2. Identify The Cover Sections
The Mesa seat cover usually has the following parts:
- Main seat cover (back and bottom)
- Harness strap covers
- Buckle pad
- Infant insert (if used)
Look at each piece and note where the harness slots, buckles, and anchor points go. This will help you avoid confusion later.
3. Position The Car Seat
Place the Mesa on a flat, stable surface—like a table or clean floor. Recline the seat slightly if possible, to make attaching the cover easier.
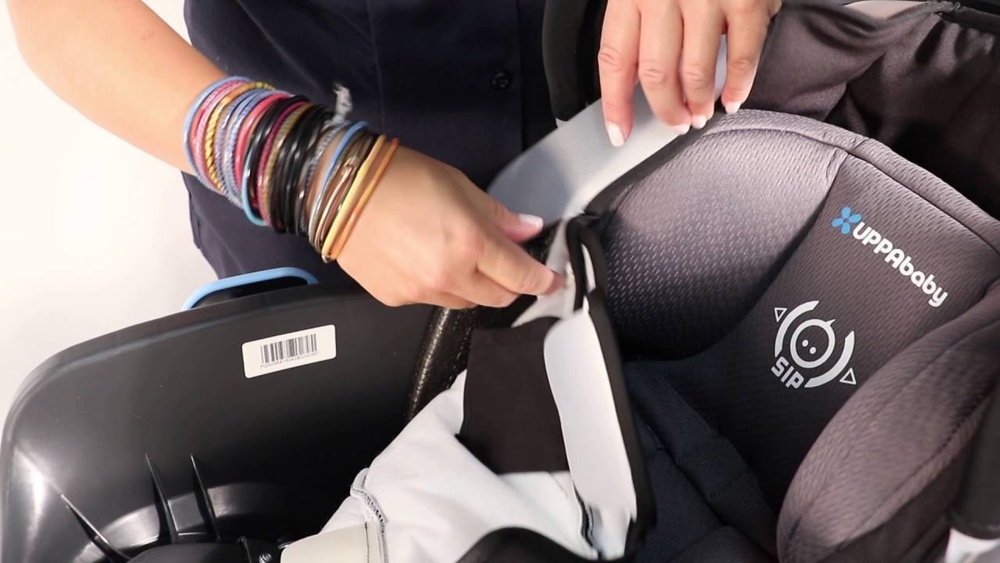
4. Fit The Main Cover
Begin with the main seat cover. Locate the top (headrest area) and bottom (where your child’s legs go).
- Slide the headrest section over the top of the seat shell.
- Tuck fabric into the seat’s side edges, aligning the harness slots with the openings in the shell.
- Make sure the cover fits snugly around the edges, especially near the handle.
Pay special attention to the harness slots. They must be perfectly aligned so the straps move freely and don’t get twisted.
5. Attach Buckle And Harness Straps
Feed the harness straps and the crotch buckle through the corresponding slots in the cover.
- Insert each strap from the back of the seat through the correct slot.
- Check that straps lay flat and are not twisted underneath the cover.
- Pull the crotch buckle through its slot at the front.
A common mistake is putting the straps through the wrong slots, which can make the seat unsafe. Double-check this step.
6. Secure Side And Bottom Edges
Tuck the side flaps of the cover under the seat shell. Many Mesa covers have small hooks or elastic loops to secure the cover’s edge to the shell.
- Start with one side and work your way around the seat.
- Attach any plastic clips or elastic loops to their anchors under the seat.
- Smooth out wrinkles as you go.
This step ensures the cover stays tight and does not shift when you place your child inside.
7. Reattach Harness Pads And Inserts
If your Mesa has harness strap covers or a buckle pad, reattach them now. For infants, replace the infant insert if needed.
- Slide the harness pads onto the straps.
- Attach the buckle pad by threading the crotch buckle through its hole.
- Place the infant insert onto the seat, aligning its slots with the harness straps.
Some inserts are only for babies under a certain weight (usually 11 lbs/5 kg for Mesa), so check the manual if you are unsure.
8. Final Adjustments And Checks
Run your hands around all edges to make sure the cover is fitted tightly and there are no loose sections. Pull on the harness straps to check that they move smoothly. Press down on the seat to be sure the cover doesn’t shift out of place.
An easy-to-miss detail: sometimes, the fabric around the shoulder harness slots gets bunched up, which can make buckling harder or less safe. Smooth these areas carefully.
Mesa Car Seat Cover: Reassembly Data
Here’s a quick comparison of what you should check before and after reattaching the cover:
| Step | Before Reassembly | After Reassembly |
|---|---|---|
| Cover Condition | Dry, clean, undamaged | Tight, wrinkle-free, fits shell |
| Harness Slots | Not blocked | Aligned with shell, straps flat |
| Attachments | All pieces present | All pads and inserts secured |
| Safety Check | Parts ready | Straps move freely, no twists |
Common Mistakes To Avoid
Many parents run into these issues when putting the cover back on:
- Misaligned harness slots: Make sure straps are in the same slots as before.
- Twisted harness straps: Straighten straps fully before threading.
- Missing side hooks or loops: Not attaching these can make the cover shift.
- Wet or damp cover: Always let the cover dry 100% before reassembly to prevent mold.
- Forgetting the buckle pad: This can make the crotch buckle uncomfortable for your child.
Even experienced parents sometimes forget to check that the chest clip and buckle are working smoothly after reassembly. Always do a full check before using the seat.
Cleaning And Maintenance Tips
Putting the cover back on is a good time to look for dirt or damage you might have missed. Here’s how to keep your Mesa car seat in top condition:
- Spot clean small stains between washes to avoid frequent full removals.
- Avoid harsh chemicals; use only mild soap and water as recommended by Uppababy.
- Dry in shade: Direct sunlight can fade colors and weaken fabric.
- Check harness straps for fraying or damage each time you remove the cover.
- Store spare parts: Keep extra pads or inserts in a labeled bag for easy access.
Over time, even high-quality covers can show wear. Replacing the cover every few years, or if you notice damage, helps keep your car seat safe.
Quick Reference: Mesa Cover Features
Uppababy Mesa covers have some unique features that make removal and replacement easier:
| Feature | Benefit |
|---|---|
| Machine-washable fabric | Easy to clean, maintains look |
| Multiple harness slot positions | Adjusts as baby grows |
| Elastic and clip attachments | Secure fit, easy to reattach |
| Breathable mesh | Comfortable for baby, less sweat |
This design makes the Mesa cover easier to work with than many other brands, but it also means you need to pay attention to detail.
Troubleshooting: If The Cover Won’t Fit
Sometimes, the cover just doesn’t seem to fit back on. Here’s what to do:
- Double-check orientation: Make sure you have the top and bottom correctly aligned.
- Check for tucked fabric: Sometimes, small flaps get stuck under the shell.
- Look for missing attachments: If you skipped a hook or loop, the fit will be loose.
- Compare to photos: If you took pictures before removing the cover, use them to check alignment.
If all else fails, check the manual or find a video guide. Sometimes, seeing the process visually clears up confusion.

Credit: miach.co
Pro Tips Most Parents Miss
- Take photos as you remove the cover. These will help you remember how the straps and inserts are arranged.
- Thread harness straps before attaching side edges. This prevents you from having to undo your work if a strap is missed.
- Feel under the cover for hidden crumbs or dirt before reattaching. This keeps the seat clean for longer.
- Label the harness slots (with painter’s tape) as you remove them, especially if you’re in a hurry.
- Keep a spare cover if you have frequent messes, so you always have a dry one ready.
These small steps can save time and reduce frustration, especially if you’re dealing with a wiggly baby or toddler.
Frequently Asked Questions
How Often Should I Wash The Uppababy Mesa Car Seat Cover?
It depends on usage, but most parents wash the cover every 1–2 months or after major spills. For small messes, spot cleaning is usually enough. Over-washing can cause the fabric to fade or wear out faster.
Can I Machine Dry The Mesa Car Seat Cover?
No, it’s best to air dry the cover. Machine drying can shrink the fabric or damage elastic parts. Lay the cover flat in a shaded area for best results.
What If I Lost A Piece Of The Cover Or Insert?
You can order replacement parts directly from Uppababy or authorized retailers. Never use non-original parts, as they may not fit correctly or meet safety standards.
Are The Harness Straps Removable For Washing?
No, the harness straps are not designed to be fully removed from the Mesa car seat. Wipe them with mild soap and water while they are attached. Removing them can compromise the seat’s safety.
Is It Safe To Use Aftermarket Covers?
Uppababy recommends using only official Mesa covers. Aftermarket covers may not fit properly, can block harness slots, and might not be flame-retardant or crash-tested. Always use the original cover for safety.
Putting the Uppababy Mesa car seat cover back on might seem tricky at first, but with careful steps and a little patience, it becomes a simple part of your parenting routine. Each time you do it, you’ll get faster and more confident. Remember, a well-fitted cover keeps your baby comfortable and your car seat safe—so it’s worth doing right. If you’re ever unsure, don’t hesitate to check the manual or reach out to Uppababy’s customer support for help. Your child’s safety is always the top priority.

Credit: www.youtube.com