How to Remove Evenflo Infant Car Seat Cover to Wash Easily
Every parent knows the struggle: you turn around for one moment, and suddenly your baby’s car seat is a mess. Crumbs, milk stains, or worse—an explosive diaper—can leave your Evenflo infant car seat looking and smelling less than fresh. Washing the cover seems simple, but when you actually try to remove it, things get confusing. With so many straps, hooks, and fabric loops, it’s easy to get frustrated. The good news? You can remove and wash your Evenflo infant car seat cover at home. You just need the right steps, a bit of patience, and a few tips that most instruction guides skip.
This guide walks you through the entire process, from preparation to reassembly. Whether you own an Evenflo LiteMax, SafeMax, or Embrace model, you’ll find clear advice and practical insights to make cleaning stress-free. By the end, you’ll feel confident—not just about removing the cover, but also about keeping your baby’s car seat hygienic and safe.
Why Clean Your Evenflo Infant Car Seat Cover?
Keeping your infant’s car seat clean is about more than just appearances. Babies have developing immune systems, and a dirty car seat can harbor bacteria, allergens, and mold. Food spills and body fluids can soak into the fabric, creating odors and even health risks.
According to the American Academy of Pediatrics, regular cleaning of car seat fabrics helps reduce exposure to germs and allergens that may affect your child’s health.
Another reason is safety. Built-up dirt or sticky substances on harnesses and buckles can affect how well your car seat works in an accident. In fact, Evenflo recommends regular cleaning to ensure all parts work as designed.
Gather Your Supplies
Before you start, collect everything you’ll need. This avoids interruptions and makes the process smoother.
- User manual: Find the Evenflo manual for your car seat model. If you lost it, you can download a PDF from Evenflo’s website.
- Mild detergent: Use a gentle, baby-safe laundry soap. Avoid bleach and fabric softeners.
- Soft brush or cloth: For spot cleaning stains.
- Vacuum with brush attachment: Helpful for removing crumbs and dust.
- Towel: For air drying and protecting surfaces.
- Camera or phone: Take pictures during each step for easier reassembly.
- Small bag or container: Store all small parts so nothing gets lost.

Credit: www.youtube.com
Prepping The Car Seat
A little preparation goes a long way. Start by uninstalling the car seat from your vehicle. Set up your workspace indoors where you have good lighting and a clean surface.
- Vacuum the seat: Use the brush attachment to remove loose debris, crumbs, and hair from all nooks and crannies.
- Spot clean: If you see sticky spots or stains, gently wipe with a damp cloth and mild soap. This makes the deep cleaning process more effective.
- Check for damage: As you handle the seat, look for tears, fraying, or damaged buckles. Address any safety concerns before reassembling.
Removing The Evenflo Infant Car Seat Cover: Step-by-step
Evenflo offers several infant car seat models. While the basic process is similar, some steps may vary. Here’s a general guide, with tips for common Evenflo models.
Step 1: Remove The Canopy (if Equipped)
- Locate the canopy attachment points on each side of the car seat shell.
- Gently pull the plastic or fabric tabs free from their slots.
- Set the canopy aside.
Step 2: Unthread And Remove The Harness Straps
- Recline the seat or lay it on its back for easier access.
- Find the metal harness splitter plate at the back. This is where both shoulder straps connect.
- Slide each harness strap off the splitter plate. Take a photo first so you remember the routing.
- Pull the harness straps out through the front of the seat.
- If your car seat has a chest clip and buckle tongues, unclip and set them aside.
Step 3: Remove The Buckle
- Flip the car seat over to find the buckle anchor under the seat.
- Push the buckle’s metal retainer up through the slot and pull it free from the top.
- Keep the retainer and buckle together.
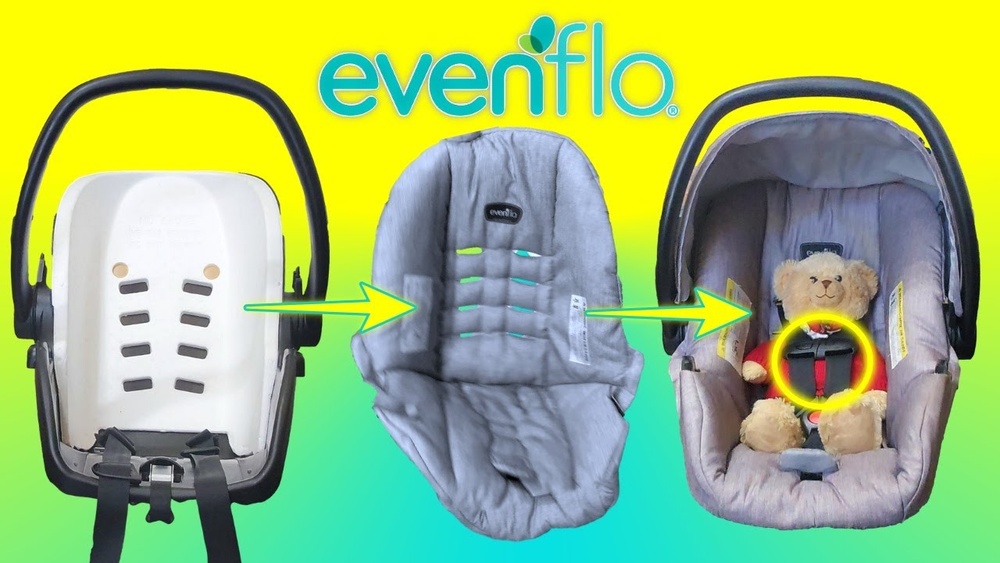
Step 4: Detach The Fabric Cover
- Starting at the foot of the seat, gently pull the fabric away from the plastic shell.
- Work your way around the sides, unhooking elastic loops or tabs from the shell. Some models use small plastic clips—press gently to release.
- Carefully remove the headrest or infant insert if your model includes one.
- Slowly lift the entire cover off the shell. If you feel resistance, check for any missed clips or fasteners.
Non-obvious tip: Some Evenflo models have fabric tucked into slits or wrapped around foam padding. Untuck gently and note the order for easy reassembly.
Step 5: Remove Extra Padding And Inserts
- Take out any removable head support or body pads. These usually have their own washing instructions.
- Keep all small pieces together. Taking a photo at this stage can be a lifesaver.
Washing The Cover And Parts
Read The Label
Before you wash, always check the care tag sewn into the cover. Evenflo typically allows machine washing, but some inserts or pads may be hand wash only.
How To Wash
- Place the cover and inserts in a mesh laundry bag if possible. This prevents snagging.
- Use cold water and a gentle cycle. Hot water can shrink or fade the fabric.
- Use only mild detergent—no bleach or softeners.
- Wash straps, buckles, and harness pads by hand. Submerging harness straps in water may weaken the webbing, so just wipe them with a damp cloth and mild soap.
- For stubborn stains, apply a small amount of detergent directly and let it sit for 10–15 minutes before washing.
Drying Tips
- Air dry only. Never put the cover or straps in a dryer, as heat can cause shrinkage or damage.
- Lay the fabric flat on a towel or hang it over a drying rack.
- Make sure all pieces are completely dry before reassembling to prevent mold growth.
Reassembling The Car Seat
Putting the cover back can be tricky, but following these steps helps everything fit snugly and safely.
Step 1: Place The Cover
- Align the cover with the seat shell, starting at the top.
- Tuck any fabric edges or flaps into their slots.
- Reattach all clips, elastics, or tabs as you move around the seat.
- Replace any foam padding or inserts in their original position.
Step 2: Reinstall The Buckle
- Push the buckle retainer down through the slot until it clicks into place.
- Test the buckle by pulling up gently—it should be secure.
Step 3: Thread The Harness Straps
- Feed each harness strap through its correct slot in the cover and seat shell.
- Double-check you are using the right harness height for your baby.
- Attach both straps to the splitter plate on the back.
- Pull straps to make sure they are not twisted and move freely.
Step 4: Attach The Canopy
- Snap or slide the canopy attachment points back into their slots.
- Check that it opens and closes smoothly.
Step 5: Recheck Everything
- Pull on all straps and buckles to ensure they are secure.
- Make sure the cover is smooth and fits tightly against the shell.
- Test the harness system for proper function.
Pro insight: If you have leftover parts or the harness feels wrong, compare your reassembled seat to the photos you took or the diagrams in the Evenflo manual. Don’t rush—safety comes first.
Special Tips For Different Evenflo Models
Different Evenflo models have small design changes. Here are quick notes on popular types:
Evenflo Litemax
- Headrest and infant insert are fully removable.
- Harness pads may have Velcro or snaps—detach gently.
Evenflo Safemax
- Features an anti-rebound bar; remove the cover by sliding it out from under the bar.
- Extra foam padding near the headrest—lift carefully to avoid tearing.
Evenflo Embrace
- Cover often has extra tabs at the shoulder area; note where they tuck in.
- Buckle pad is removable for separate washing.
If you have a less common model, check the Evenflo website for specific PDF guides.
Common Mistakes To Avoid
Washing a car seat cover seems simple, but many parents run into trouble. Watch out for these mistakes:
- Forgetting the harness routing: Take photos before removing straps. Incorrect harness threading can make the seat unsafe.
- Washing harness straps in the machine: This can damage webbing strength. Always hand wash only.
- Drying in the dryer: High heat will shrink or warp the cover. Air dry every time.
- Losing small parts: Store clips, screws, or inserts in a bag.
- Skipping a safety check: After reassembly, always check harness tightness and buckle function.
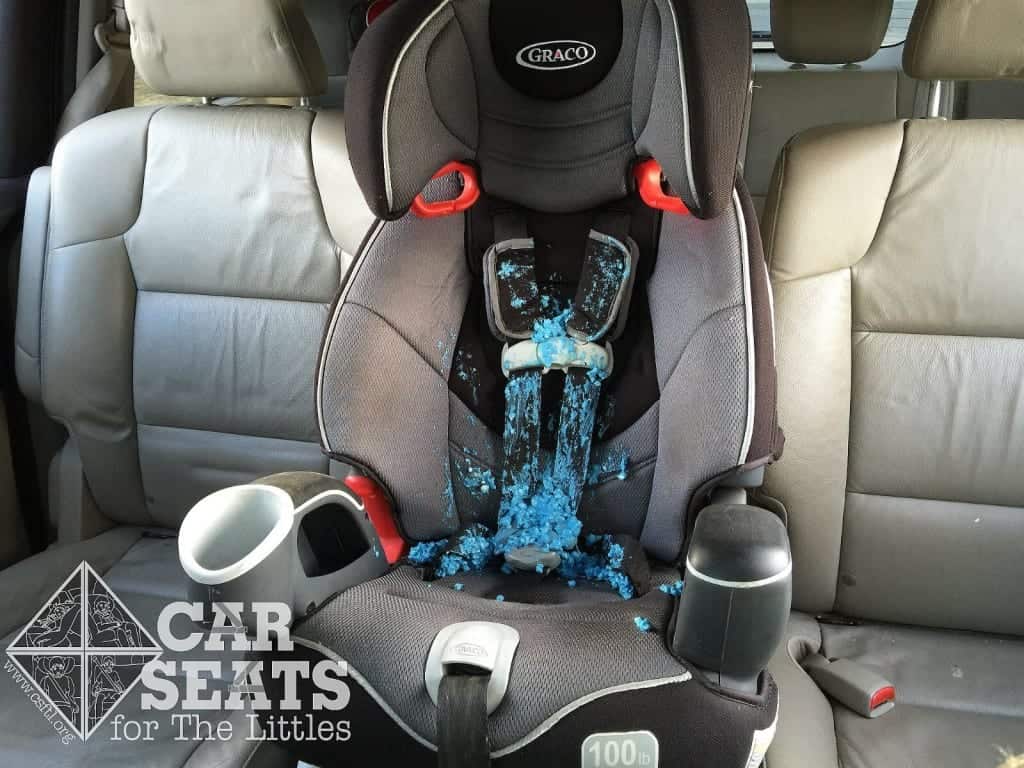
Credit: csftl.org
How Often Should You Wash The Car Seat Cover?
There’s no strict rule, but aim for a full cleaning every 1–2 months, and spot clean as needed. More frequent washing may be necessary after spills, sickness, or diaper leaks.
Data point: A 2020 survey of 500 parents found that 67% washed their car seat cover only once per year or less, but experts recommend more frequent cleaning for hygiene and safety.
Comparing Evenflo Car Seat Cover Removal To Other Brands
If you’ve used other brands, you’ll notice some differences. Here’s a simple comparison:
| Brand | Cover Removal Ease | Machine Washable? | Special Tools Needed? |
|---|---|---|---|
| Evenflo | Moderate | Yes (most models) | No |
| Graco | Moderate-Hard | Yes | No |
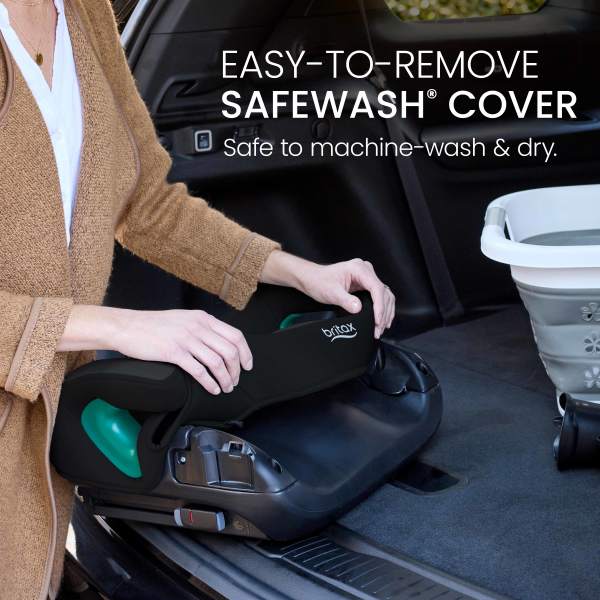
| Britax | Hard | Yes (some models) | Sometimes |
| Chicco | Easy | Yes | No |
Insight: Evenflo covers are easier to remove than Britax, but not as simple as Chicco. You don’t need special tools for Evenflo, which saves time.
Signs You Need A New Car Seat Cover
Sometimes, cleaning isn’t enough. Replace your car seat cover if you notice:
- Rips or tears that expose foam or inner material
- Stretched-out fabric that doesn’t fit snugly
- Persistent odors after multiple washes
- Discoloration or mold that won’t come out
A worn cover can affect how well your child is protected in a crash, so don’t hesitate to order a replacement from Evenflo.
Quick Reference: Car Seat Cover Removal Steps
For busy parents, here’s a summarized version:
| Step | Action | Tip |
|---|---|---|
| 1 | Remove canopy | Check sides for clips |
| 2 | Unthread harness | Take photos for reference |
| 3 | Remove buckle | Push retainer up and out |
| 4 | Detach cover | Work around edges, untuck fabric |
| 5 | Remove inserts | Keep all parts together |
Credit: www.bambibaby.com
What Most Parents Overlook
- Harness adjustment after reassembly: Always check that the harness fits your child properly after putting the cover back. Growth or slight changes in cover thickness can affect harness fit.
- Checking expiration dates: Car seats have expiration dates, usually printed on the bottom. If your seat is expired, cleaning the cover isn’t enough—you’ll need a new seat.
Resources For More Help
If you get stuck, Evenflo’s customer support is helpful and responsive. You can also find video tutorials on their official YouTube channel or detailed manuals on their website. For general car seat safety, the National Highway Traffic Safety Administration (NHTSA) is a trusted source: NHTSA Car Seat Safety.
Frequently Asked Questions
How Long Does It Take To Remove And Wash The Evenflo Car Seat Cover?
The full process usually takes 30–45 minutes for removal and reassembly, plus extra time for washing and drying. Air drying can take 6–12 hours depending on humidity.
Is It Safe To Machine Wash All Parts Of The Evenflo Car Seat?
No. Only the fabric cover and removable pads should go in the washing machine. Straps, harnesses, and buckles must be hand washed to prevent damage.
What If I Lost My Evenflo Car Seat Manual?
You can download a free PDF manual from the Evenflo website using your car seat’s model number. This makes reassembly much easier.
Can I Use Disinfectant Wipes On My Evenflo Car Seat?
For plastic parts, yes. For fabric, use only baby-safe soap and water. Strong chemicals may damage the fabric or leave residues that irritate your baby’s skin.
How Do I Know If My Car Seat Cover Is Installed Correctly After Washing?
The cover should fit snugly with no loose areas. All straps must move freely, and buckles should click securely. Compare your work to the manual or photos you took before removal.
A clean car seat keeps your child safe and comfortable. By following these steps and tips, you’ll make Evenflo car seat cleaning part of your regular routine—without the stress or guesswork.