How to Put Uppababy Car Seat Cover Back on Easily and Fast
When you first remove the Uppababy car seat cover for cleaning, it may look easy. But putting it back can be tricky, especially for new parents or anyone doing it for the first time. You might worry about safety, comfort, or just making sure everything fits as it should. This guide explains exactly how to put the Uppababy car seat cover back on, step by step. We’ll cover all key points, show you where people often get stuck, and offer expert tips so you can do it with confidence.
Why Replacing The Car Seat Cover Correctly Matters
Many parents think the cover is just for looks or comfort. In reality, the car seat cover is crucial for both safety and hygiene. If the cover is not fitted correctly, it can affect how the straps hold your child in place. This could make the seat less safe during a sudden stop or accident. Also, a loose cover might cause discomfort for your baby, leading to fussiness on the road. Clean covers also reduce the risk of skin irritation and allergies. So, learning the right way to put the cover back is more important than it seems.
Understanding Your Uppababy Car Seat Model
Before you begin, check which Uppababy car seat model you have. The most popular models are:
- Mesa (including Mesa V2 and Mesa Max)
- Knox
- Alta
Each model has a slightly different cover design, but the general steps are similar. The Mesa is the most common for infants, while Knox and Alta are for older children. If you have your user manual, keep it nearby for reference.
You can also find digital manuals on the official Uppababy website.

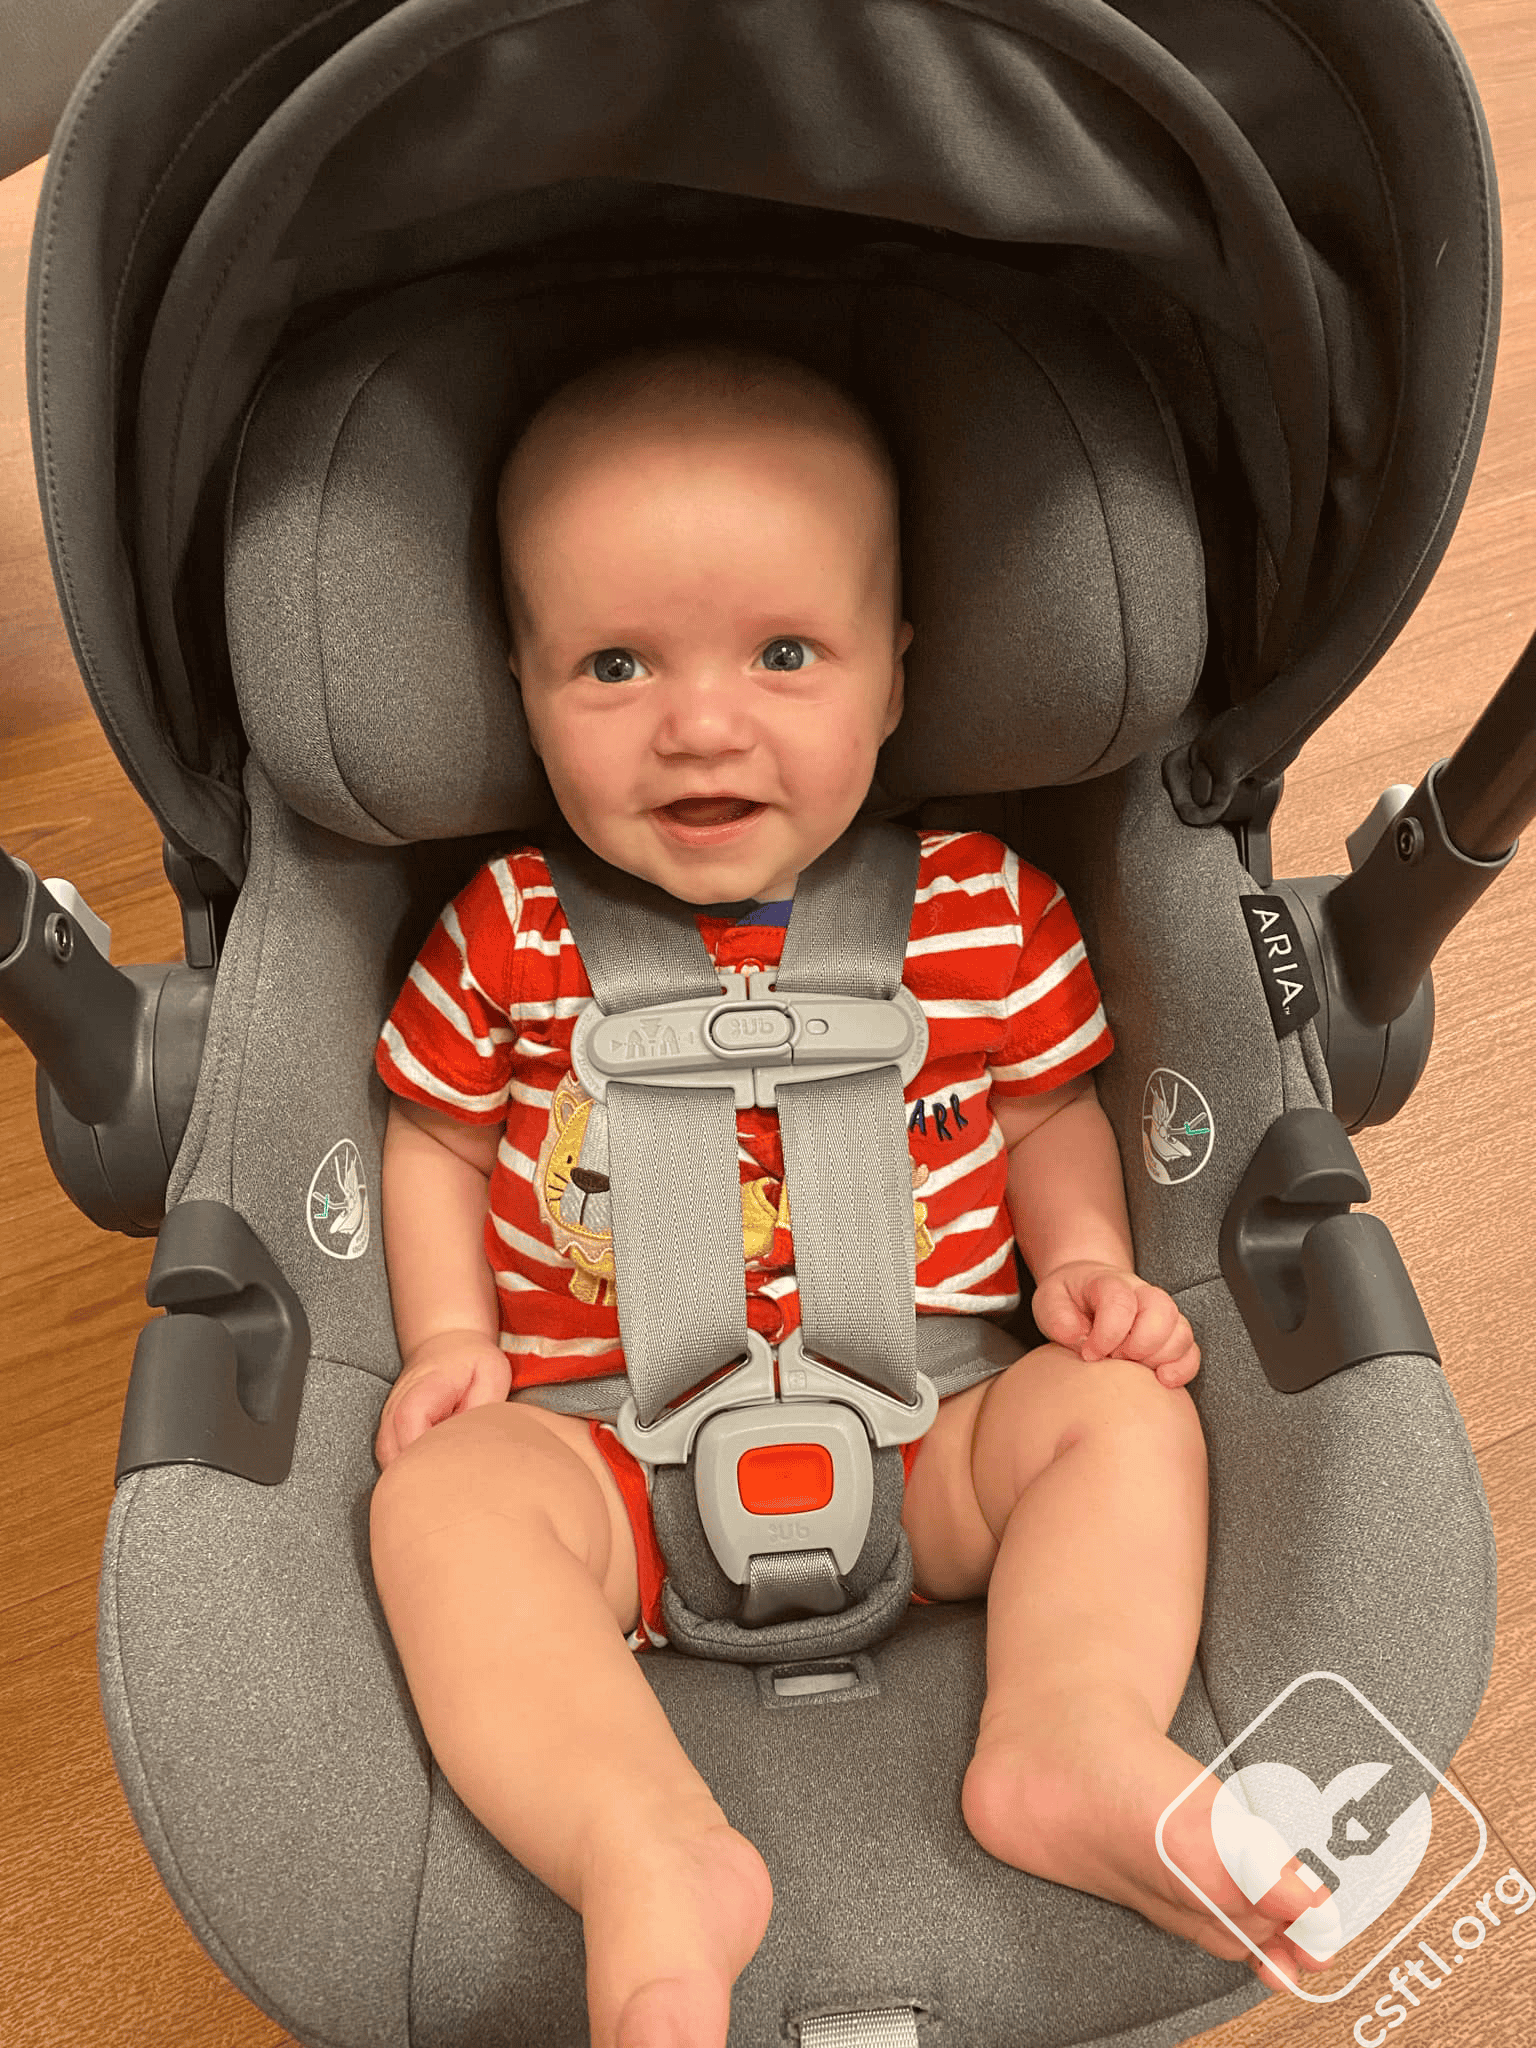
Credit: csftl.org
What You’ll Need
Putting the cover back on does not require special tools, but having a few things ready makes the process smoother:
- The clean, dry car seat cover
- The car seat shell
- All padding and inserts (headrest, infant insert, harness pads)
- The harness straps
- User manual (optional but helpful)
- A flat, clean workspace
Avoid doing this in a hurry or cramped space. A well-lit table or floor area is best.
Step-by-step Guide: Putting The Cover Back On
Let’s walk through the process in detail. These steps work for most Uppababy car seat covers, with notes on differences where needed.
1. Identify Cover Sections And Attachments
Start by laying out the cover and car seat. You’ll notice the cover has:
- Elastic edges
- Slits or holes for harness straps and buckle
- Snaps, Velcro, or hooks for securing
Check that all padding pieces are clean and dry. If you see any tears or weak spots, fix them before reassembly.
2. Reattach The Main Seat Cover
Place the main cover over the seat shell, starting at the headrest area.
- Align the cover with the seat’s shape.
- Pull the cover down, making sure the holes line up with the harness slots and buckle.
- Tuck the elastic edges under the plastic rim of the seat.
- Smooth out any wrinkles for a snug fit.
For Mesa models, the fabric should fit tightly with no bunching. On Knox and Alta, you may need to stretch the sides more.
3. Thread The Harness And Buckle Through
This is where many people get confused. The harness and buckle must go through the correct slots in the cover.
- Pull the harness straps through the shoulder slots from the back.
- Slide the crotch buckle through the hole at the seat’s bottom.
- Double-check that the straps are not twisted or tangled under the cover.
- For models with removable shoulder pads, fit them now.
If the straps are not flat, take a moment to fix them before moving on. Twisted straps reduce safety.
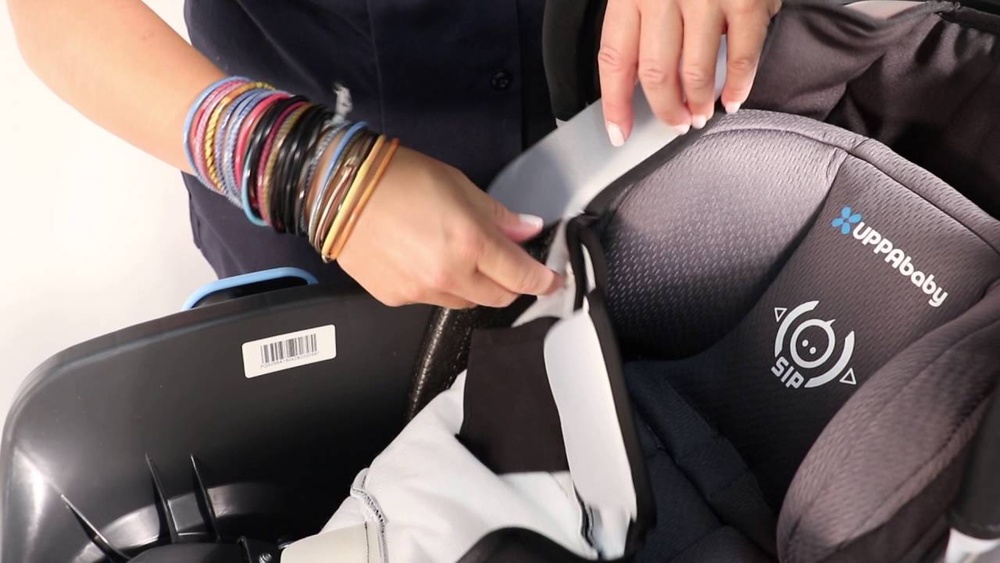
4. Secure The Cover: Snaps, Velcro, And Hooks
Look for any snaps, Velcro strips, or hooks on the cover’s underside or sides.
- Snap the fabric tabs into the shell’s matching buttons (usually near the headrest and sides).
- Attach any Velcro strips under the seat or at the back.
- For covers with hooks, loop them around the small posts or holes on the seat’s base.
This step makes sure the cover stays in place during use. If you miss a snap or hook, the cover may shift while driving.
5. Replace Additional Padding And Inserts
Now, add the headrest, infant insert, and harness pads:
- Slide the headrest padding into the top of the cover.
- Place the infant insert in the seat’s center if your child still needs it.
- Attach the harness covers to the shoulder straps.
Each piece should fit securely without blocking any harness adjustment points. For older children, some inserts are not needed—check your manual.
6. Final Fit Check
Before using the car seat, do a full check:
- Press around the cover—no loose spots or lifted edges.
- Try moving the harness straps—they should slide easily.
- Buckle and unbuckle the crotch strap to make sure nothing is blocked.
- Adjust the headrest if needed.
If anything feels tight, twisted, or misaligned, remove the cover and try again. Rushing this step can lead to mistakes.
Common Mistakes And How To Avoid Them
Even careful parents make errors the first few times. Here’s what to watch out for:
- Twisted harness straps: Always keep straps flat for maximum safety.
- Wrong slot alignment: If the harness or buckle is hard to use, check if you used the right slot.
- Skipped fasteners: Missing a snap or hook lets the cover move, making the seat less secure.
- Wet covers: Never put a damp cover back on—it can cause mold or rust.
- Mixing up inserts: Some inserts are only for infants. Using them for older children can reduce comfort and safety.
If you’re unsure, compare your seat to images in the user manual or search for official videos from Uppababy.
Comparing Uppababy Car Seat Cover Features
Understanding the differences between Uppababy models helps you put the cover back on with less confusion. Here’s a quick comparison:
| Model | Cover Attachment | Padding/Insert Options | Machine Washable |
|---|---|---|---|
| Mesa | Elastic, Snaps | Headrest, Infant Insert | Yes |
| Knox | Elastic, Velcro | Headrest, Harness Pads | Yes |
| Alta | Elastic, Hooks | Headrest, Booster Pad | Yes |
This table shows that while the core process is similar, small details matter—especially the way covers attach.

Credit: www.youtube.com
Tips For A Smooth Reassembly
These practical insights will make the process easier:
- Take photos as you remove the cover. This makes it much easier to remember the right order and placement.
- Lay out all parts before starting. Missing pieces are a common problem.
- Label your inserts with a piece of tape if you have more than one Uppababy seat in your home.
- Practice before washing. Try taking the cover off and putting it back on once when the seat is new.
- If you get stuck, check YouTube for official Uppababy videos, or call their support line.
Cleaning And Care Recommendations
To keep your car seat cover in good shape:
- Wash with mild detergent on gentle cycle.
- Air dry—avoid using a dryer, which can shrink or damage the fabric.
- Do not use bleach or harsh cleaners.
- Clean spills quickly to prevent stains.
A clean cover not only looks better, but also lasts longer and protects your baby’s skin.
When To Replace Your Car Seat Cover
Most Uppababy covers are built to last years. But you should replace the cover if:
- You notice tears, rips, or worn fabric that can’t be fixed.
- The cover is stained and doesn’t come clean after washing.
- You’ve had a major car accident—even if the seat looks fine, safety could be affected.
- Elastic or fasteners stop working.
Replacement covers can be ordered from the official Uppababy website or trusted retailers. Always buy original parts for safety.
How Uppababy Compares To Other Brands
It’s useful to see how Uppababy seats compare to similar brands for cover reassembly:
| Brand | Ease of Reassembly | Available Instructions | Replacement Cover Cost |
|---|---|---|---|
| Uppababy | Moderate | Manual, Videos | Medium |
| Graco | Easy | Manual, Videos | Low |
| Chicco | Moderate | Manual, Limited Videos | Medium |
| Britax | Hard | Manual Only | High |
Uppababy strikes a balance between safety, ease of use, and support. While not the simplest, its guides and replacement options are better than many brands.
Non-obvious Insights For Success
Many guides stop at the basics. Here are two insights that can save you frustration:
- The “Memory Trick”: After washing, the fabric may feel tighter or looser than before. If it’s too tight, gently stretch the elastic by hand before putting it on. If it’s loose, let it air dry for an extra hour.
- Strap Placement Matters: If the harness slots don’t match your child’s shoulders after reassembly, the cover may be upside down or backwards. Recheck the orientation—this is a common beginner mistake.
Also, if the cover seems impossible to fit, check that no extra padding is hidden under the main cover. Sometimes inserts slip underneath and create bulk.
Where To Find More Help
If you’re stuck, the official Uppababy website has user manuals and video tutorials for each seat model. You can also visit CPSC Car Seat Safety for general car seat safety guidance.
Credit: csftl.org
Frequently Asked Questions
Can I Machine Wash The Uppababy Car Seat Cover?
Yes, most Uppababy car seat covers are machine washable. Use cold water and gentle cycle. Air dry to prevent shrinking. Always check your user manual for specific instructions.
What If I Lost A Snap Or Hook From The Cover?
If you lose a snap, hook, or Velcro strip, contact Uppababy customer service. Using the seat without all fasteners is not safe. Replacement parts are often available.
How Often Should I Clean The Car Seat Cover?
Clean the cover every 1-2 months or after major spills. Frequent cleaning keeps the seat hygienic and prevents permanent stains.
Can I Use A Universal Car Seat Cover With My Uppababy Seat?
It’s best to use official Uppababy covers. Universal covers may not fit securely, which can reduce safety and comfort. Always choose the correct model.
What Should I Do If The Cover Won’t Fit After Washing?
If your cover shrinks or becomes misshapen, air dry for longer and gently stretch the elastic. If it still does not fit, you may need a replacement.
Putting your Uppababy car seat cover back on may take patience, but following these steps ensures a safe, clean, and comfortable ride for your child. With the right approach, you’ll get faster and more confident every time.