How to Remove Graco 3 in 1 Car Seat Cover Easily and Safely
Removing the cover from a Graco 3 in 1 car seat can feel tricky, especially if you have never done it before. Many parents struggle with this task, but knowing how to do it properly can save you time and keep your child’s seat clean and safe. The Graco 3 in 1 car seat is popular because it grows with your child, functioning as a rear-facing seat, forward-facing seat, and booster.
Each stage has its own setup, and the cover removal process changes slightly for each. This guide will walk you through every step, clear up common confusion, and share practical tips that most beginners miss. By the end, you’ll feel confident removing, cleaning, and reinstalling your car seat cover—no matter which mode your Graco seat is in.
Understanding The Graco 3 In 1 Car Seat
Before you start, it helps to know what the Graco 3 in 1 car seat is and why cover removal matters. This seat is designed for long-term use: from infants to older children. It has three stages:
- Rear-facing infant seat
- Forward-facing harness seat
- High-back booster seat
Each stage has slightly different straps and attachments, so the cover may fit differently. Keeping the cover clean is important for hygiene and safety. Food, spills, and dirt can hide in the fabric, causing smells and even mold if left too long.
Removing the cover lets you wash it and inspect the seat for damage.
Safety First: Preparing To Remove The Cover
Taking off the cover is not just about pulling at the fabric. You need to be careful not to damage the seat or misplace parts. Here are some safety tips:
- Check the user manual for your specific Graco model. The manual shows diagrams and steps.
- Remove the seat from your car. This gives you space and prevents losing small parts.
- Keep all screws, clips, and straps together in a safe spot.
- Take photos of each step as you go. This helps you remember how to reassemble.
One common mistake is rushing and tearing the fabric or breaking plastic clips. Go slowly and gently.
Removing The Cover In Rear-facing Mode
Most parents start with the rear-facing infant seat. Babies often spill milk or snacks, so cleaning is needed often. Here’s how to remove the cover in this mode:
Step-by-step Instructions
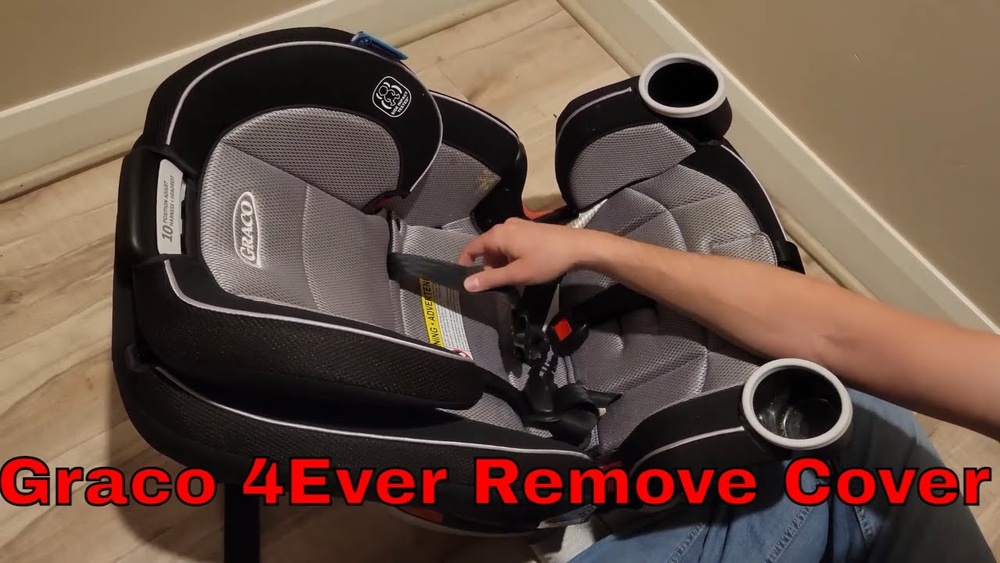
- Uninstall the seat: Take the car seat out of the vehicle and place it on a flat surface.
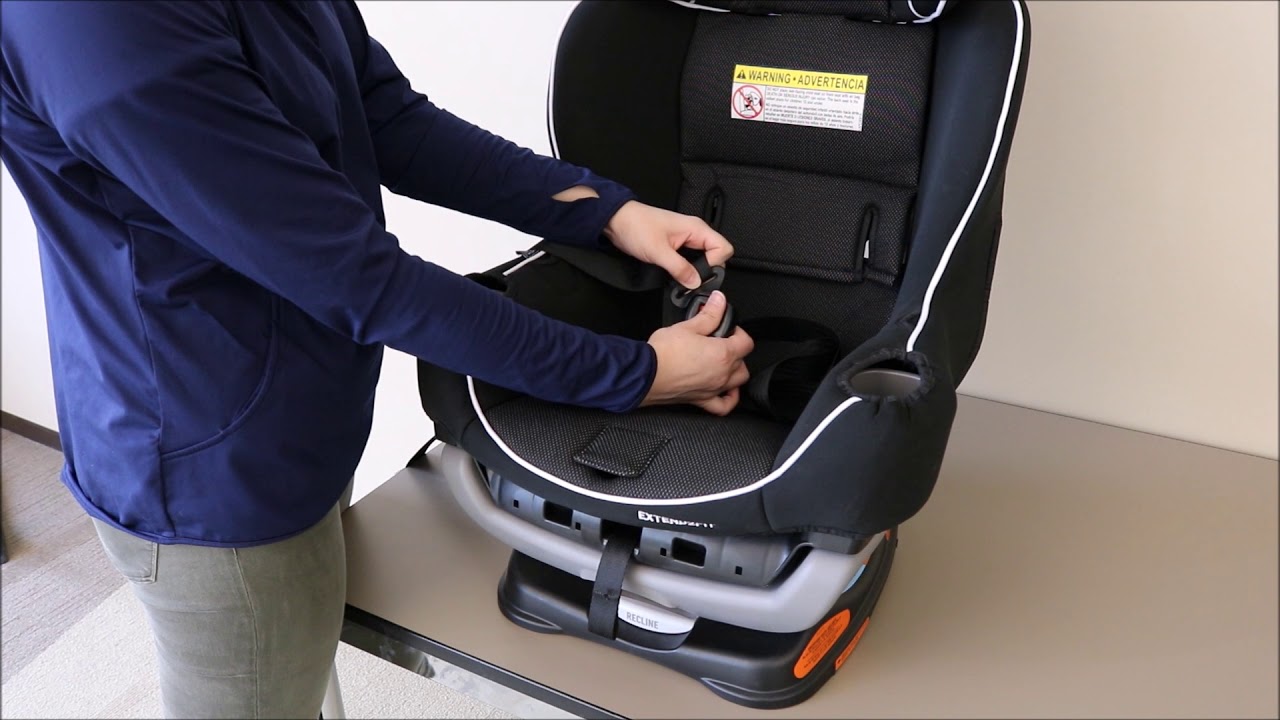
- Loosen the harness: Pull the harness straps so they are fully extended.
- Remove the infant insert: If your seat has a padded insert for newborns, take it out first.
- Detach the harness straps: Find the metal clips at the back of the seat. Unhook the straps from these clips.
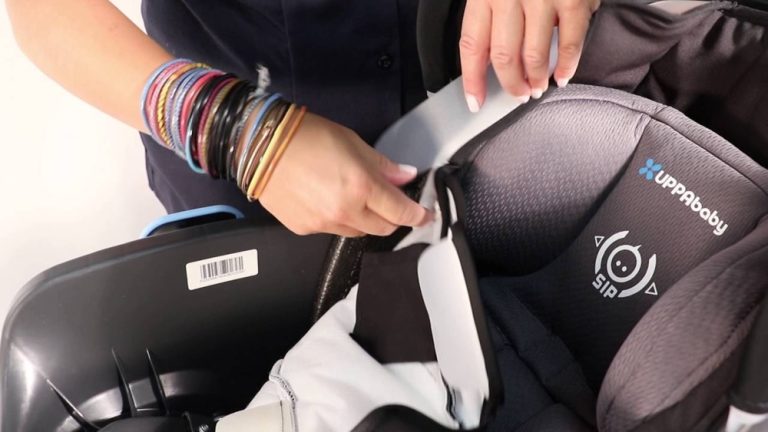
- Release the cover edges: The cover is usually attached with elastic, snaps, or hooks. Start at the top and gently lift the fabric away from the shell.
- Pull cover through harness slots: Carefully slide the fabric out of the harness slots without tugging.
- Check for hidden fasteners: Some models have small plastic tabs or Velcro under the seat or near the headrest. Undo these as needed.
Practical Tips
- Take note of how the straps are threaded. Many parents forget, leading to mistakes when reinstalling.
- If you see crumbs or dirt, vacuum the seat shell before washing the cover.
- Always check for labels with washing instructions.
Non-obvious Insights
- If the seat has a headrest adjustment, lower it to its smallest size. This makes removing the cover easier.
- Some Graco models have a split cover design. In this case, you only need to remove the part that is dirty.
Removing The Cover In Forward-facing Mode
When your child grows, the seat becomes a forward-facing harness seat. The cover removal is a bit different, as the harness system changes. Here’s how to do it:
Step-by-step Instructions
- Remove the seat from your car: Place it somewhere you can work easily.
- Extend the harness straps: Pull them to their maximum length.
- Detach the harness from the splitter plate: Look for the metal plate at the back and unhook both shoulder straps.
- Remove cup holders: Some Graco seats have built-in cup holders. These usually snap out for easier cover removal.
- Lift cover edges: Start at the seat’s base and gently pull up the fabric.
- Undo fasteners: Look for snaps, Velcro, or hooks—especially near the seat’s sides.
- Pull cover through the harness slots: Slide the fabric out carefully, making sure not to damage the slots.
Practical Tips
- The cup holders must be removed before the cover can come off fully. They may need a gentle twist or pull.
- If the seat’s cover is stuck, check for additional fasteners near the base or under armrests.
- Use a flashlight to spot hidden clips.
Non-obvious Insights
- The forward-facing mode often has extra padding around the shoulders. Remove these pads before taking off the main cover.
- If your seat has recline settings, set it to the most upright position before starting. This makes the cover easier to access.
Credit: www.youtube.com
Removing The Cover In Booster Mode
In booster mode, the seat is designed for older children and may have fewer harness straps. The cover removal is usually simpler, but some details can be missed. Here’s how to do it:
Step-by-step Instructions
- Take the seat out of the car: Put it on a table or clean floor.
- Remove the backrest (if detachable): Some Graco boosters allow you to separate the backrest from the seat. This step makes the cover removal easier.
- Check for hidden fasteners: Look under the seat and along the sides for Velcro or plastic tabs.
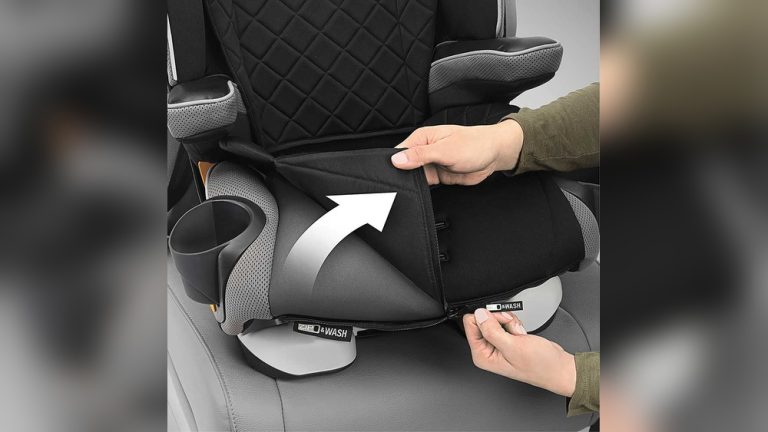
- Release the cover edges: Gently pull the cover away from the shell, starting at the bottom.
- Remove cover from armrests and cup holders: These may be attached with snaps or hooks.
- Slide cover through belt guides: The booster mode uses belt guides for proper seatbelt placement. Carefully pull the fabric around these guides.
Practical Tips
- If the cover is tight around the belt guides, wiggle it gently to avoid tearing.
- Some booster covers are split into two parts: Seat pad and backrest. Remove each piece separately.
- Always check under the seat for extra fasteners.
Non-obvious Insights
- If the backrest is adjustable, set it to its lowest position before removing the cover.
- Some Graco booster seats have hidden pockets for the manual or extra parts. Check these before washing.
Washing And Caring For The Cover
After removing the cover, the next step is cleaning. Graco covers are usually machine washable, but always check the care label first. Here are key steps:
- Use a gentle cycle with cold water to prevent fading.
- Avoid bleach or harsh detergents.
- Air dry the cover. Heat from dryers can shrink or damage the fabric.
- Wipe down the seat shell with a damp cloth before reinstalling the cover.
Some covers may have special padding that should only be hand-washed. If you’re unsure, check the Graco website or manual.
Comparison Of Washing Methods
Here is a quick look at the pros and cons of hand-washing vs. machine-washing:
| Method | Pros | Cons |
|---|---|---|
| Hand-wash | Gentle, good for delicate fabrics | Time-consuming |
| Machine-wash | Fast, convenient | Can cause fading or shrinking |

Credit: el-greco.ru
Reinstalling The Cover
Putting the cover back on your Graco 3 in 1 car seat can be as challenging as removing it. Here’s how to do it right:
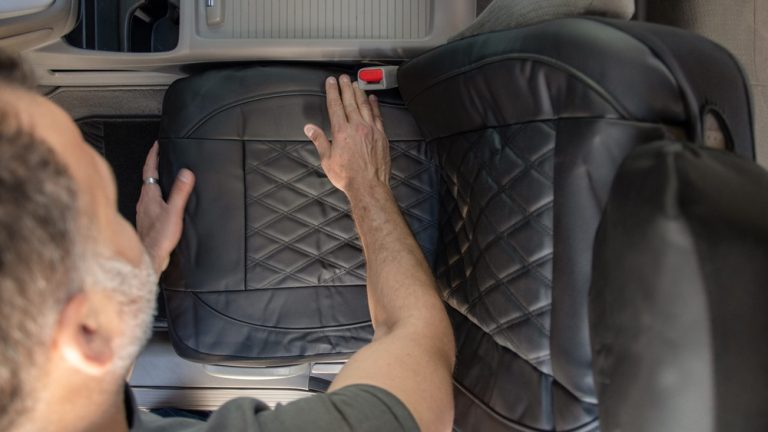
- Align the cover with the seat shell, making sure all harness slots match.
- Thread the harness straps back through the correct slots.
- Secure all fasteners: Snaps, hooks, Velcro, or elastic bands.
- Reattach cup holders and armrests if needed.
- Check that the cover is tight and smooth, with no wrinkles or loose areas.
Many parents forget to thread the harness correctly, which can make the seat unsafe. Always double-check your manual and compare your photos from the removal process.
Common Reinstallation Mistakes
| Mistake | Effect | How to Avoid |
|---|---|---|
| Misthreading harness | Unsafe fit for child | Use manual and photos |
| Missing fasteners | Loose cover, discomfort | Check all attachment points |
| Incorrect cup holder placement | Cover bunching | Snap holders in before cover |
Expert Tips For Removing And Reinstalling The Cover
- If you lose a clip or fastener, contact Graco for replacements. Never use tape or glue as a fix.
- Always store your manual and extra parts in a safe place, such as a ziplock bag attached to the seat.
- If your cover is torn, Graco sells replacement covers that fit specific models.
Many parents do not realize that even small tears can compromise the seat’s safety by exposing foam or padding. Replace damaged covers right away.

Credit: fromrebel.com
How Often Should You Remove And Clean The Cover?
The frequency depends on your child’s age and activity level. For infants, clean every 2-3 weeks. For older children, clean monthly or after spills. Regular cleaning prevents odors and extends the seat’s life.
Data On Cleaning Frequency
| Child Age | Recommended Cleaning Interval | Reason |
|---|---|---|
| Infant (0-1 year) | Every 2 weeks | Frequent spills, milk stains |
| Toddler (1-3 years) | Monthly | Snacks, drinks |
| Child (4+ years) | Every 2 months | Less frequent messes |
Where To Find More Help
If you need extra guidance, the Graco website offers videos and manuals for each model. You can also ask questions in parenting forums or read safety advice from sources like Safe Kids Worldwide. These resources can help if your seat is a newer or older version.
Frequently Asked Questions
How Long Does It Take To Remove A Graco 3 In 1 Car Seat Cover?
It usually takes 20–30 minutes for beginners. If you have experience, it might take only 10–15 minutes. Allow extra time for cleaning and drying.
Can I Wash The Cover In A Washing Machine?
Yes, most Graco covers are machine washable. Use cold water and gentle cycle. Always check the label for specific instructions.
What If I Lose A Fastener Or Clip During Removal?
Contact Graco’s customer service for replacements. Using tape or makeshift fixes is unsafe and not recommended.
Is It Safe To Use The Seat If The Cover Is Not Installed?
No. The cover is part of the seat’s safety system. Without it, the seat’s foam or padding may be exposed, which can reduce protection in a crash.
Are All Graco 3 In 1 Car Seat Covers Removed The Same Way?
No. While the process is similar, some models have different attachments or fasteners. Always check your manual and follow specific instructions for your seat.
Cleaning and maintaining your Graco 3 in 1 car seat is essential for your child’s safety and comfort. By following these detailed steps for each mode, you can keep your seat in top condition, avoid common mistakes, and even save money by extending the seat’s life. Remember, a clean seat is a safe seat—and knowing how to remove and reinstall the cover will make every ride more comfortable for your child.