How to Install Car Seat Covers: Easy Steps for a Perfect Fit
If you want to protect your car’s interior and give it a fresh new look, installing car seat covers is one of the easiest and most effective ways to do it. But you might wonder, “Can I really do this myself?” The good news is—you absolutely can!
Whether your seats are worn out, stained, or you just want to upgrade the style, installing seat covers doesn’t have to be complicated or time-consuming. In this guide, you’ll discover simple, step-by-step instructions to fit your car seat covers quickly and securely, even if you’re a complete beginner.
Keep reading, and by the end, you’ll have your seats looking brand new without paying for expensive professional help. Ready to get started? Let’s dive in!
Preparing Your Car Seats
Preparing your car seats is the first step to a smooth seat cover installation. Clean and organize your seats well. This ensures the covers fit perfectly and last longer. Taking time now avoids problems later.
Cleaning The Seats
Start by removing any dirt or debris on the seats. Use a vacuum to clear crumbs and dust from crevices. Wipe the seats with a mild cleaner suitable for your seat material. Let the seats dry completely before installing covers. Clean seats help covers stick better and prevent odors.
Unboxing And Identifying Parts
Open your seat cover package carefully. Check all parts against the instruction list. Identify straps, hooks, and velcro pieces. Knowing each part helps during installation. Lay everything out for easy access. This step saves time and confusion later.
Removing Headrests
Removing headrests is an important step before installing car seat covers. This allows the cover to fit snugly around the seat. Taking out the headrests carefully also prevents damage to both the seat and the cover. Follow simple steps to remove them safely and easily.
Locating Release Buttons
Most car headrests have release buttons at the base. These buttons unlock the headrest from the seat. Look closely where the headrest posts enter the seat back. You may find one or two small buttons on one or both sides. Press these buttons firmly to release the lock.
Safely Pulling Out Headrests
After pressing the release buttons, gently pull the headrest upwards. Do not use force. If the headrest does not move, press the buttons again and try. Slowly pull the headrest straight up until it comes free. Place the headrest in a safe spot to avoid damage while installing the cover.
Positioning The Cover
Positioning the cover is a key step in installing car seat covers. This step ensures the cover fits well and looks neat. Proper positioning prevents wrinkles and keeps the cover secure. It also helps keep all seat functions accessible. Take time to align the cover carefully before fastening it. This saves effort and avoids adjustments later.
Aligning Seams And Openings
Start by sliding the cover over the seat gently. Match the seams of the cover with the seat edges. Check for any design lines or stitched seams on both the cover and seat. These should line up perfectly to look natural. Next, find the openings for headrests, armrests, or other seat features. Make sure these holes are clear and not blocked by fabric. Adjust the cover so all seams and openings fit the seat shape well. This step helps the cover sit smoothly without bunching.
Ensuring Seatbelt And Lever Access
Locate the spots for seatbelt slots and adjustment levers. The cover must not block these important areas. Carefully pull the fabric around the seatbelt slots and lever openings. Test that the seatbelt can still move freely. Also, check that levers are easy to reach and use. If the cover covers these parts, reposition it until access is clear. This keeps your seat safe and functional while covered. Proper access is important for comfort and safety.
Securing The Seat Cover
Securing the seat cover is a crucial step to keep it firmly in place. A well-secured cover prevents slipping and ensures comfort during every drive. Proper fastening also protects your seats from wear and tear. Below are common methods to secure seat covers effectively.
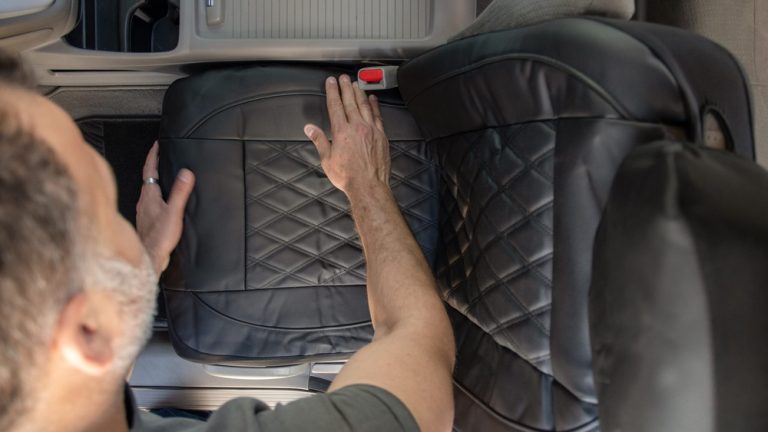
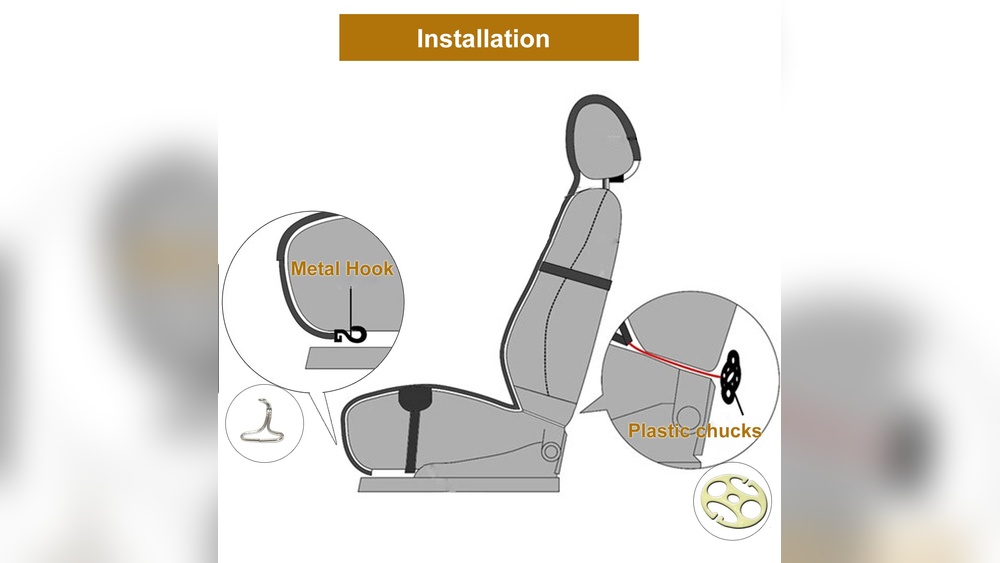
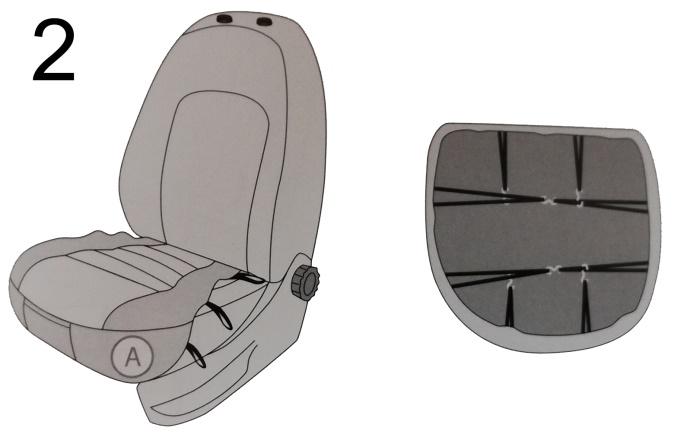
Using Straps And Hooks
Most seat covers include straps and hooks for a tight fit. First, locate the gap between the seat cushion and backrest. Slide the hooks into this gap carefully.
Pull the straps under the seat to the back. Hook them to designated anchors or frame parts. Tighten the straps until the cover is snug but not stretched.
This method keeps the cover from shifting during use. Check all hooks and straps to ensure they are secure.
Tightening With Velcro And Clips
Velcro strips help adjust the cover’s fit around edges. Press velcro parts firmly to stick them together.
Clips often come attached to the cover’s sides or bottom. Fasten these clips to the seat frame or fabric loops under the seat.
This adds extra hold to the cover. Smooth out wrinkles by adjusting velcro and clips for a neat look.
Reinstalling Headrests
Reinstalling headrests is the final step in fitting your car seat covers. It helps keep the cover in place and maintains comfort and safety. Taking care during this step ensures the covers look neat and function well.
Sliding Headrests Through Cover Openings
Locate the holes or slots in the seat cover made for the headrest posts. Align the headrest posts with these openings carefully. Push the headrest down slowly through the cover. Avoid forcing it to prevent tearing the fabric. Make sure the cover fits around the headrest posts snugly.
Checking For Proper Fit
After reinstalling, check if the headrest moves up and down smoothly. The cover should not block any adjustment mechanisms. Inspect the cover around the headrest for wrinkles or loose fabric. Pull the cover tight to remove any slack. A well-fitted cover improves both look and comfort.
Tips For Easier Installation
Installing car seat covers can be tricky without the right approach. Small adjustments make the process smoother and less frustrating. These tips help you save time and avoid damage to your seats or covers.
Follow simple methods to create space, use the right tools, and learn from visual aids. This will make your installation easier and more precise.
Creating Extra Space By Adjusting Seats
Move the seat forward or backward to create room. Tilt the seatback to give better access to corners. Adjusting the seat height helps fit the cover evenly. These small changes make sliding covers on easier.
Using Plastic Trim Tools
Use plastic trim tools to tuck covers into tight spots. They prevent damage to your car’s upholstery. These tools also help avoid scratches on plastic parts. They are cheap and reusable for many installations.
Watching Visual Guides
Watch step-by-step videos to understand the process clearly. Visual guides show tricky parts that written instructions miss. Pause and rewind videos to follow each step closely. Seeing the installation helps avoid common mistakes.
Handling Different Seat Types
Car seats come in many shapes and sizes. Installing seat covers requires attention to these differences. Understanding your seat type helps ensure a smooth installation. This section covers the two main types of seat covers: custom-fit and universal. Each type fits seats differently and needs a unique approach.
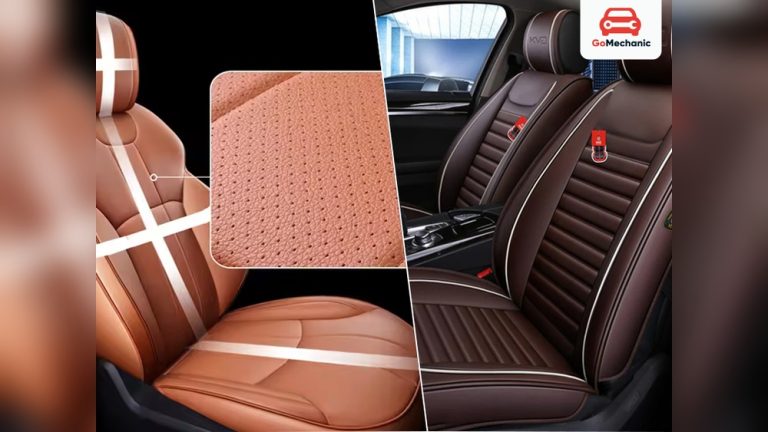
Custom-fit Covers
Custom-fit covers match your car’s seat shape exactly. They are made for specific vehicle models. This precise fit gives a clean, professional look. Installation is easier because covers align with seat contours. Start by removing the headrest. Slide the cover over the seat carefully. Use straps or hooks to secure the cover under the seat. Make sure openings for seat belts and controls are clear. Reinstall the headrest through the cover’s holes. The snug fit prevents slipping and wrinkles.
Universal Covers
Universal covers fit most car seats but are less precise. They work well on standard bucket and bench seats. These covers use elastic edges and adjustable straps for fitting. Begin by placing the cover over the seat. Pull the cover tight to reduce wrinkles. Fasten straps under the seat firmly. Check that seatbelt slots and levers are accessible. Universal covers may require more adjustment to stay in place. They offer good protection but can shift during use.
Using Hooks Effectively
Using hooks effectively is key to securing car seat covers. Hooks hold covers tightly in place. They prevent slipping and bunching during use. Proper hook use improves both look and comfort. Understanding hook types and placement helps avoid common mistakes. This section explains how to use hooks for a neat, firm fit.
Types Of Hooks
Car seat covers come with various hooks. S-hooks fit into the seat’s metal frame. Loop hooks catch onto fabric loops or seat crevices. Clip hooks attach to plastic parts or rails under the seat. Each hook type suits different seat designs. Identify the hooks included with your cover. Match them to your car seat parts for best results.
Preventing Cover Movement
Hooks keep covers from sliding or shifting. Attach hooks firmly to stable seat parts. Pull straps tight before hooking for a smooth fit. Check that hooks do not cause fabric tears. Use extra hooks if the cover still moves. Tuck loose fabric under the seat edges. Secure all hooks evenly for balance. This stops the cover from bunching or wrinkling.
Safety Considerations
Safety is the top priority when installing car seat covers. Covers must not block airbags or seatbelt functions. Always check the fit and material to avoid slipping or discomfort. Improper covers can reduce the seat’s protective features. Keep safety rules in mind to protect all passengers.
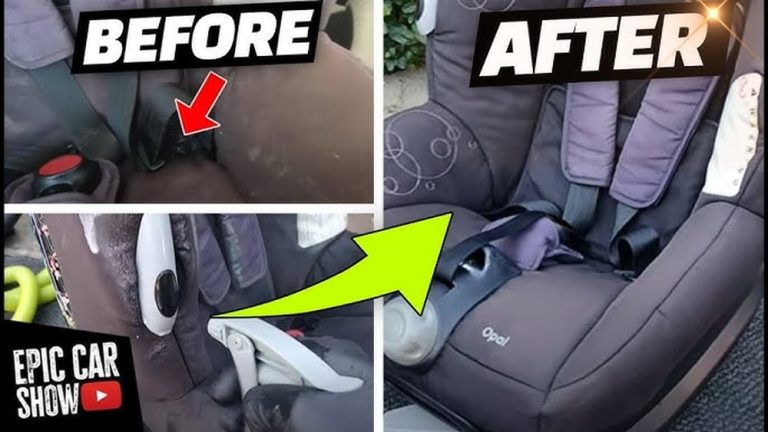
Infant Car Seat Covers
Use only covers made for infant car seats. These covers should not change the seat’s shape or padding. Avoid thick or bulky materials that affect the harness fit. Choose breathable fabrics to prevent overheating. Always follow the car seat maker’s safety guidelines.
Avoiding Harness Interference
Never cover or block the seat harness with the cover. The harness must fit snugly against the child’s body. Check that cover openings align with harness slots. Loose or twisted harness straps reduce safety. Test the harness after installing the cover to ensure freedom of movement.
Credit: www.cover-company.com
Frequently Asked Questions
Can I Install A Car Seat Cover Myself?
Yes, you can install car seat covers yourself. Most covers fit easily without tools. Follow instructions to remove headrests, slide on the cover, and secure straps or hooks for a snug fit.
What Are The Hooks For On Car Seat Covers?
Hooks on car seat covers secure the cover tightly to the seat. They prevent slipping and ensure a snug fit during use.
Is It Better To Install A Car Seat With Anchors Or Seat Belts?
Using anchors (LATCH system) is generally easier and provides a secure, consistent fit. Seat belts work well if anchors aren’t available or compatible. Always follow the car seat manufacturer’s instructions for the safest installation method.
How To Install A Car Cover Correctly?
Clean your car seats before installation. Remove headrests to slide the cover over the seat. Align openings for seatbelts and levers. Secure straps or hooks tightly under the seat for a snug fit. Reinstall headrests through cover holes to complete the process.
Conclusion
Installing car seat covers can protect and refresh your vehicle’s interior. Follow the steps carefully for a neat fit every time. Take your time to align covers and secure straps properly. Use simple tools if needed, but many covers install easily by hand.
Watching tutorial videos can make the process clearer and quicker. With patience, you can achieve a professional look yourself. Enjoy your clean, comfortable seats and added style on every drive.